tamuです。
HerokuとSalesforceをつなぐHeroku Connect試してみました。
Heroku Connect自体は無料で試すことができます。
Heroku のアプリケーションの作成
コマンドラインからでもGUIからでもOKです。
ここではコマンドラインから作ってます。
1
2
3
| $ heroku apps:create <app-name>
Creating ⬢ <app-name>... done
https://<app-name>.herokuapp.com/ | https://git.heroku.com/<app-name>.git
|
clone して mv しておきます。
1
2
3
4
5
| $ git clone https://git.heroku.com/<app-name>.git
Cloning into '<app-name>'...
warning: You appear to have cloned an empty repository.
$ cd <app-name>
|
PostgreSQL の追加
これに PostgreSQL を追加します。
 1
 2
 3
 4
 5
 6
 7
 8
 9
10
| $ heroku addons
No add-ons for app <app-name>.
$ heroku addons:create heroku-postgresql:hobby-dev
Creating heroku-postgresql:hobby-dev on ⬢ <app-name>... free
Database has been created and is available
! This database is empty. If upgrading, you can transfer
! data from another database with pg:copy
Created postgresql-opaque-xxxxx as DATABASE_URL
Use heroku addons:docs heroku-postgresql to view documentation
|
参考: https://devcenter.heroku.com/ja/articles/heroku-postgresql#provisioning-heroku-postgres
Heroku Connect の追加
まず Heroku Connect CLI プラグインをインストールします。
1
2
| $ heroku plugins:install heroku-connect-plugin
Installing plugin heroku-connect-plugin... installed v0.10.0
|
参考: https://devcenter.heroku.com/ja/articles/heroku-connect-api#heroku-cli-plugin
Heroku Connect アドオンを作成します。
1
2
3
4
5
| $ heroku addons:create herokuconnect -a <app-name>
Creating herokuconnect on ⬢ <app-name>... free
Use `heroku addons:open herokuconnect-crystalline-xxxxx -a <app-name>` to finish setup
Created herokuconnect-crystalline-xxxxx
Use heroku addons:docs herokuconnect to view documentation
|
Heroku Connect の設定
ここからは画面をつかってやっていきます(コマンドラインだとちょっと複雑だったので)。
まず先程 Heroku Connect アドオンを作ったときのログにあるコマンドを実行し、 Heroku Connect の設定画面へ移動します。
1
2
| $ heroku addons:open herokuconnect-crystalline-xxxxx -a <app-name>
Opening https://addons-sso.heroku.com/apps/xxxxxxxx-xxxx-xxxx-xxxx-xxxxxxxxxxxx/addons/xxxxxxxx-xxxx-xxxx-xxxx-xxxxxxxxxxxx...
|
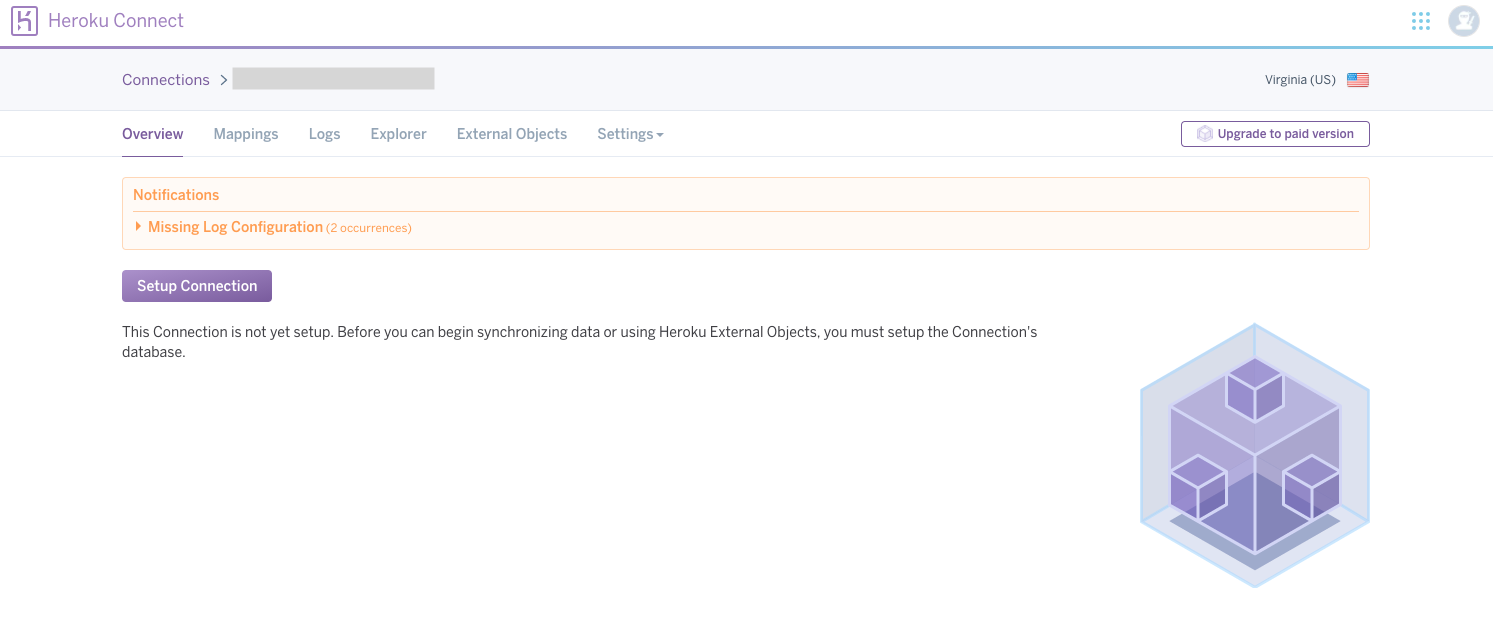
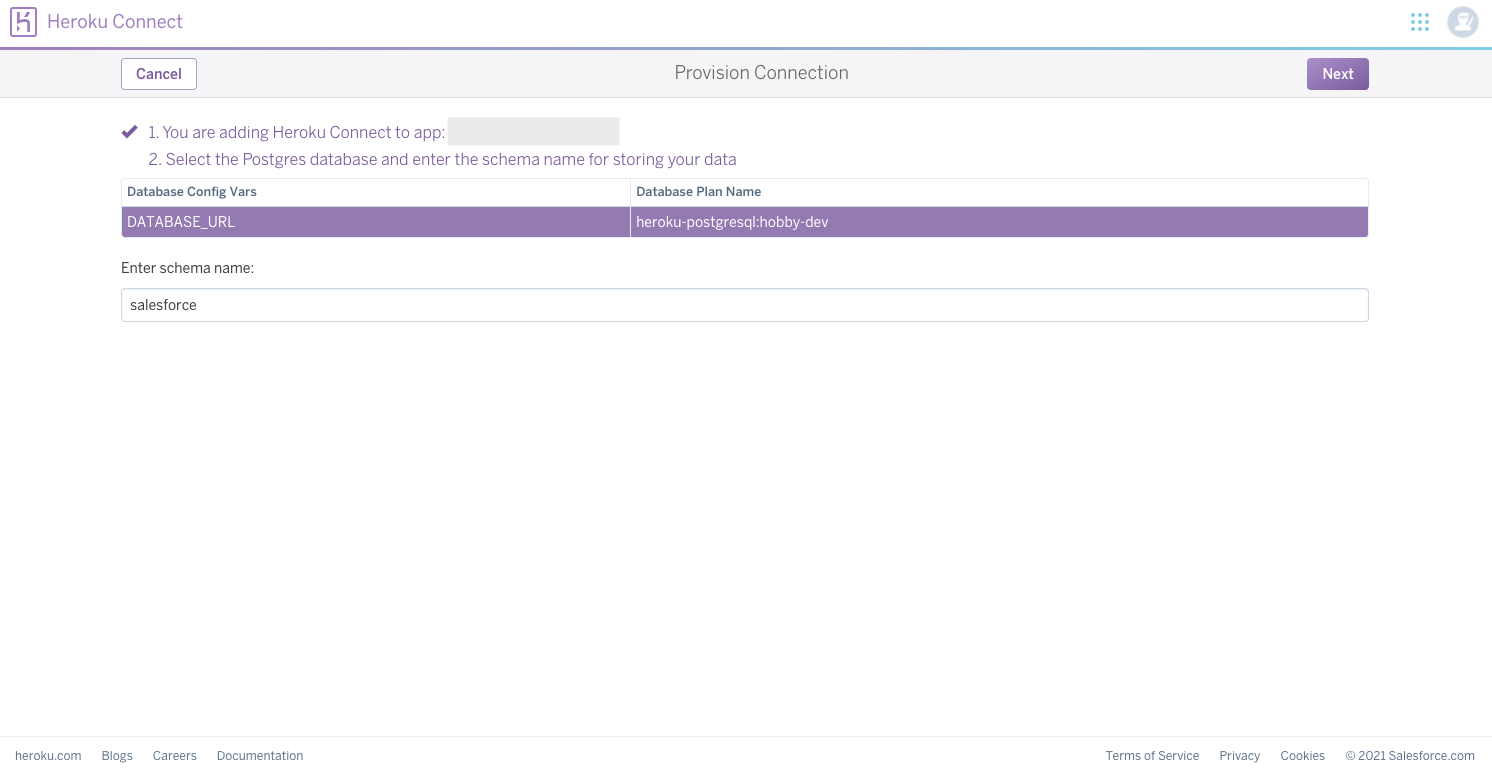
Setup Connection をクリックするとスキーマの設定画面になります。
ここではデフォルト値の salesforce をそのまま使用します。
(右上のNextを押します)
次の画面では接続先の環境を指定します。
今回は Developer Edition 環境なので Production を指定します。
( https://login.salesforce.com/ でログインする環境は Production、 https://test.salesforce.com/ でログインする環境は Sandbox を選択すれば良さそうです)
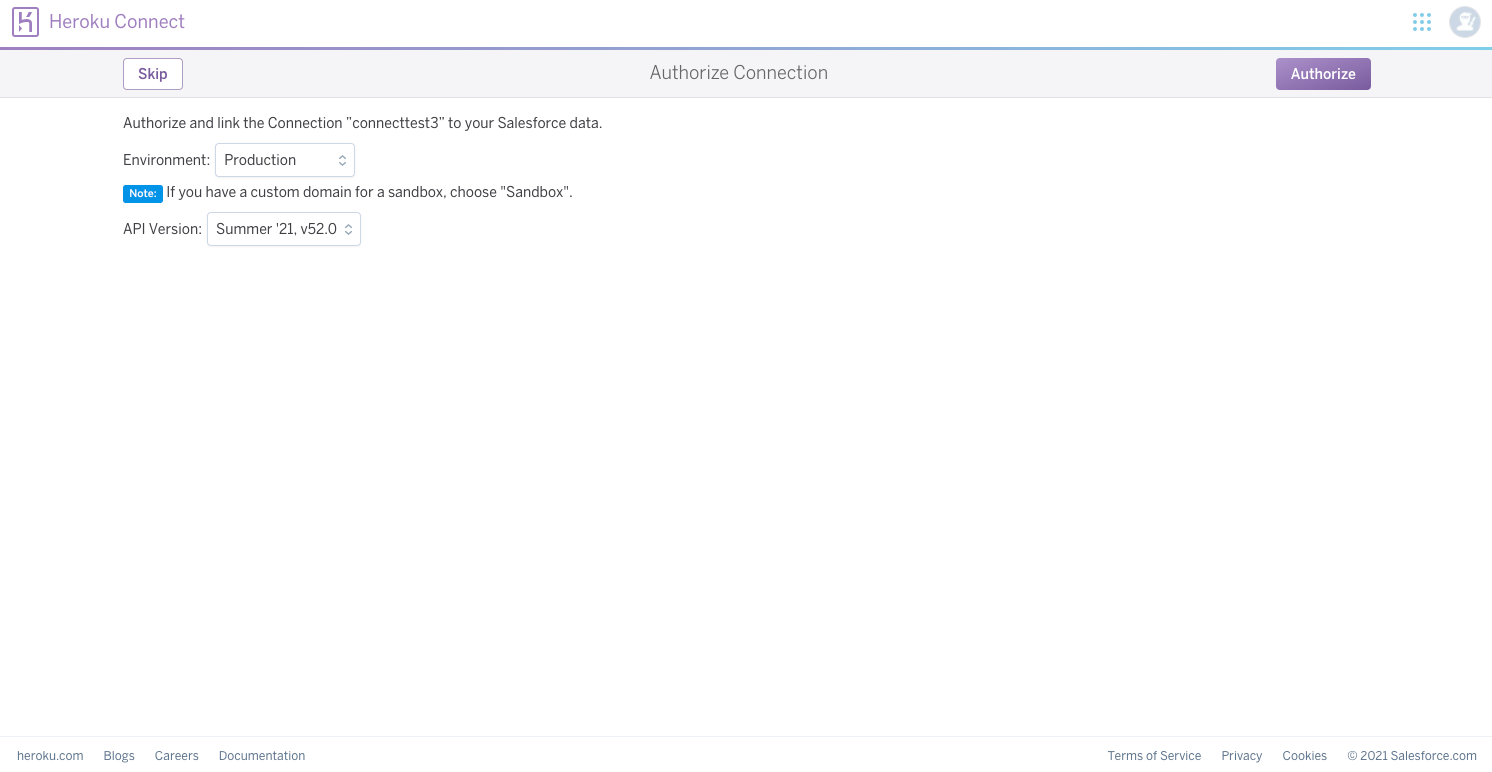
右上の Auhorize を押すとSalesforceのログイン画面に移動するので、ユーザID・パスワードを入力してログインします。
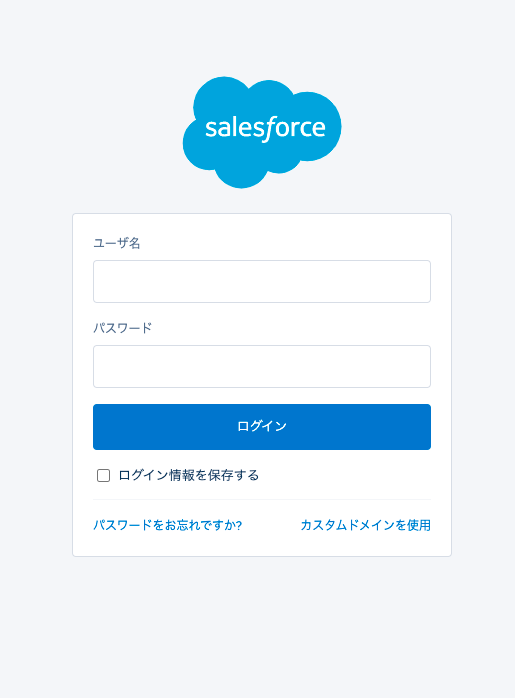
ログインすると許可を求められるので許可しておきます。
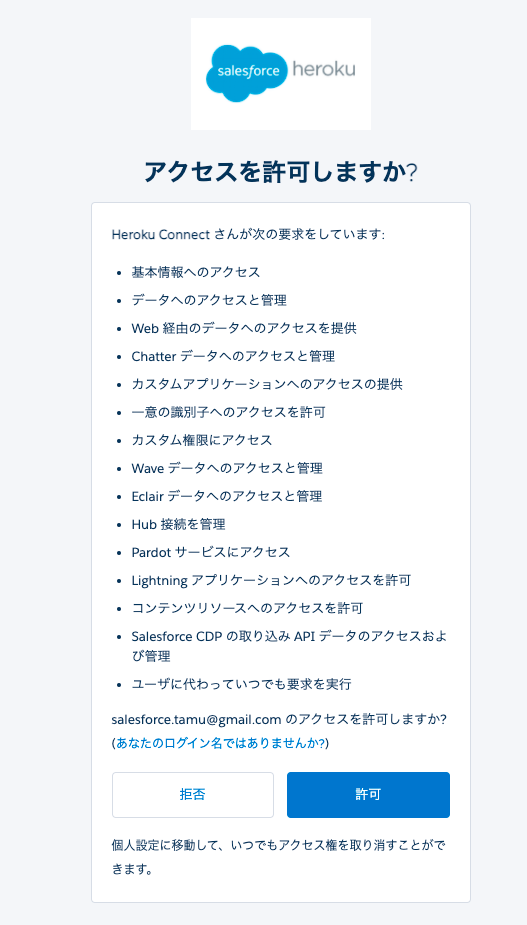
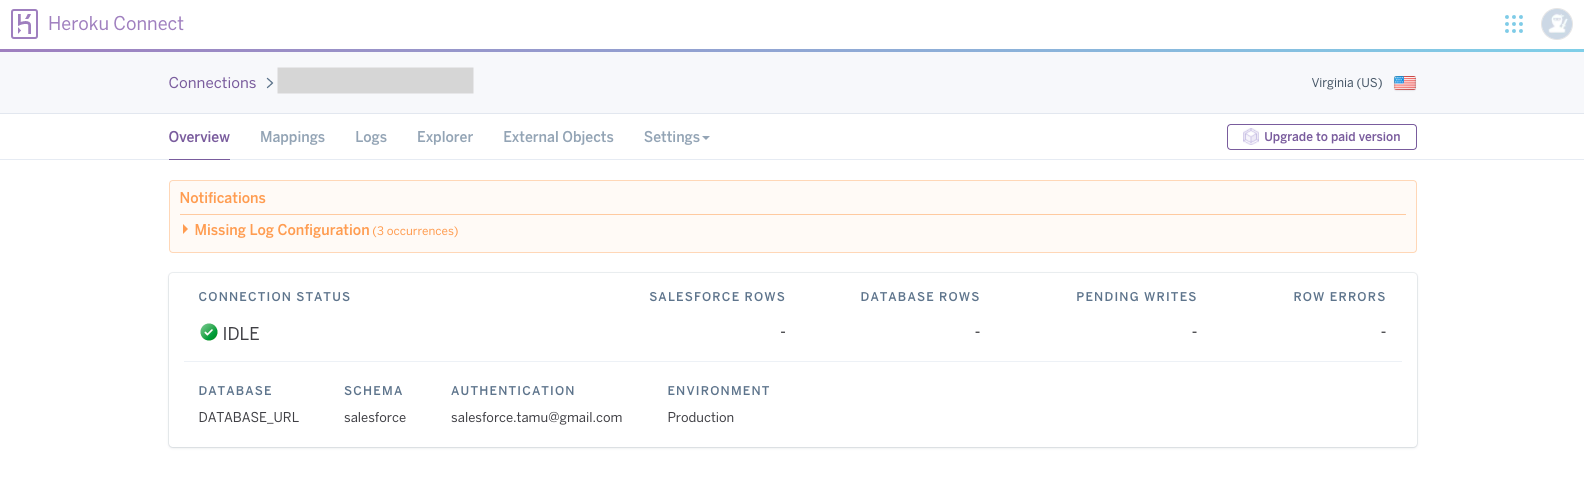
できました!
マッピングの設定
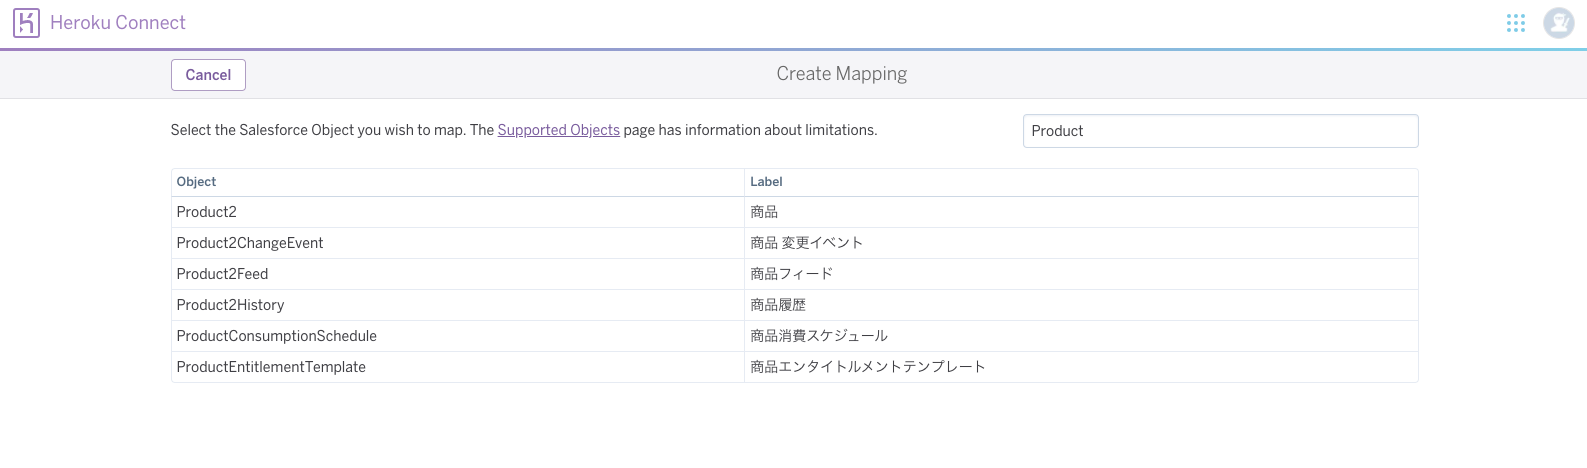
Mappings タブを開いてマッピングを作成します。
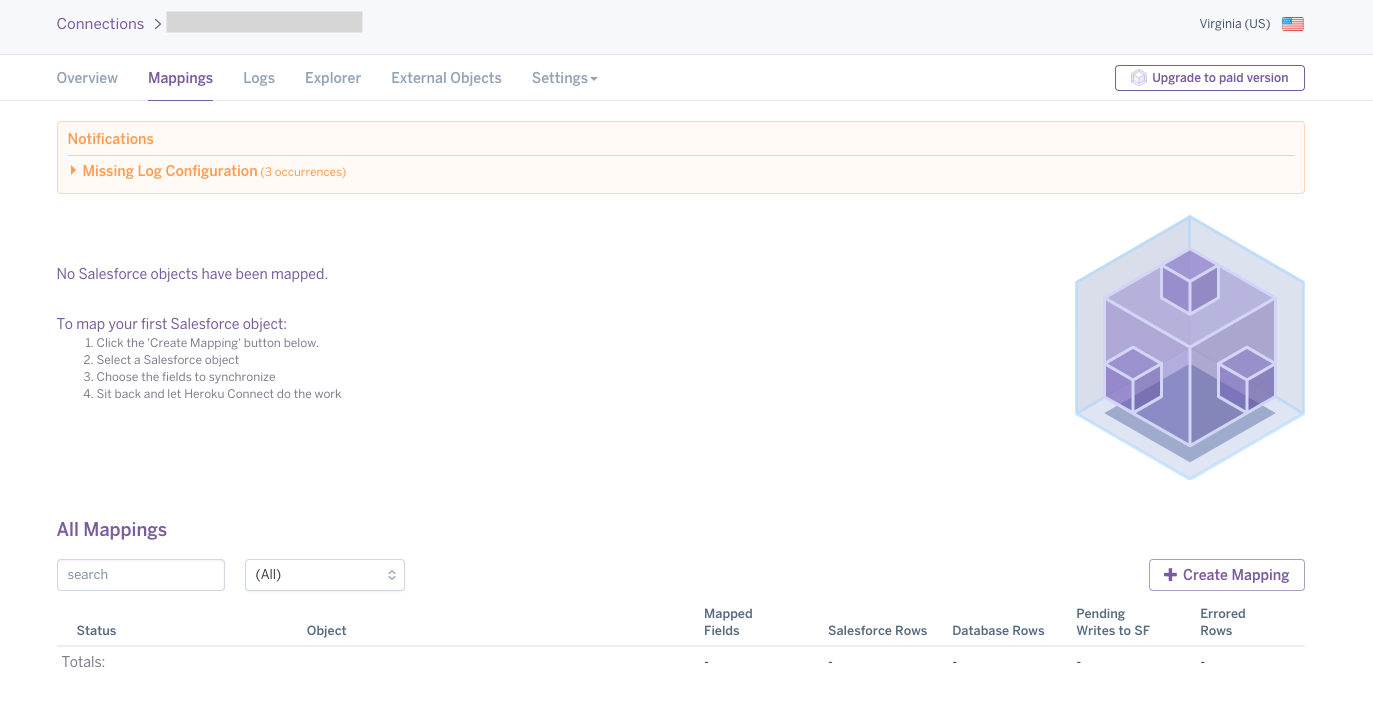
右下の Create Mapping を押してマッピングするオブジェクトを選択します。
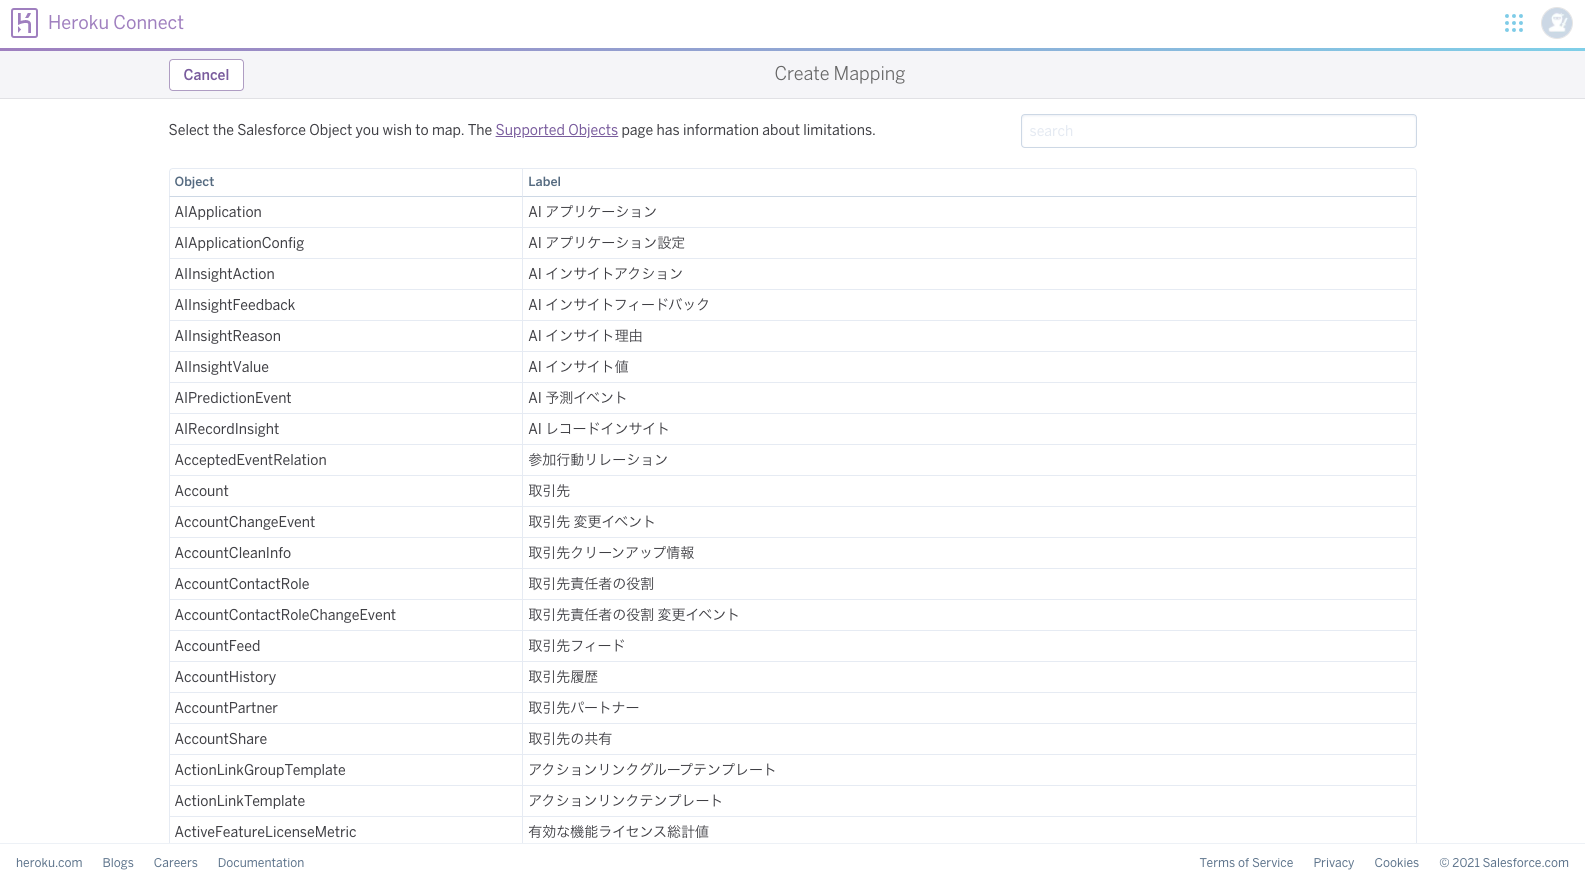
今回は商品を選択します。
こんな編集画面になります。
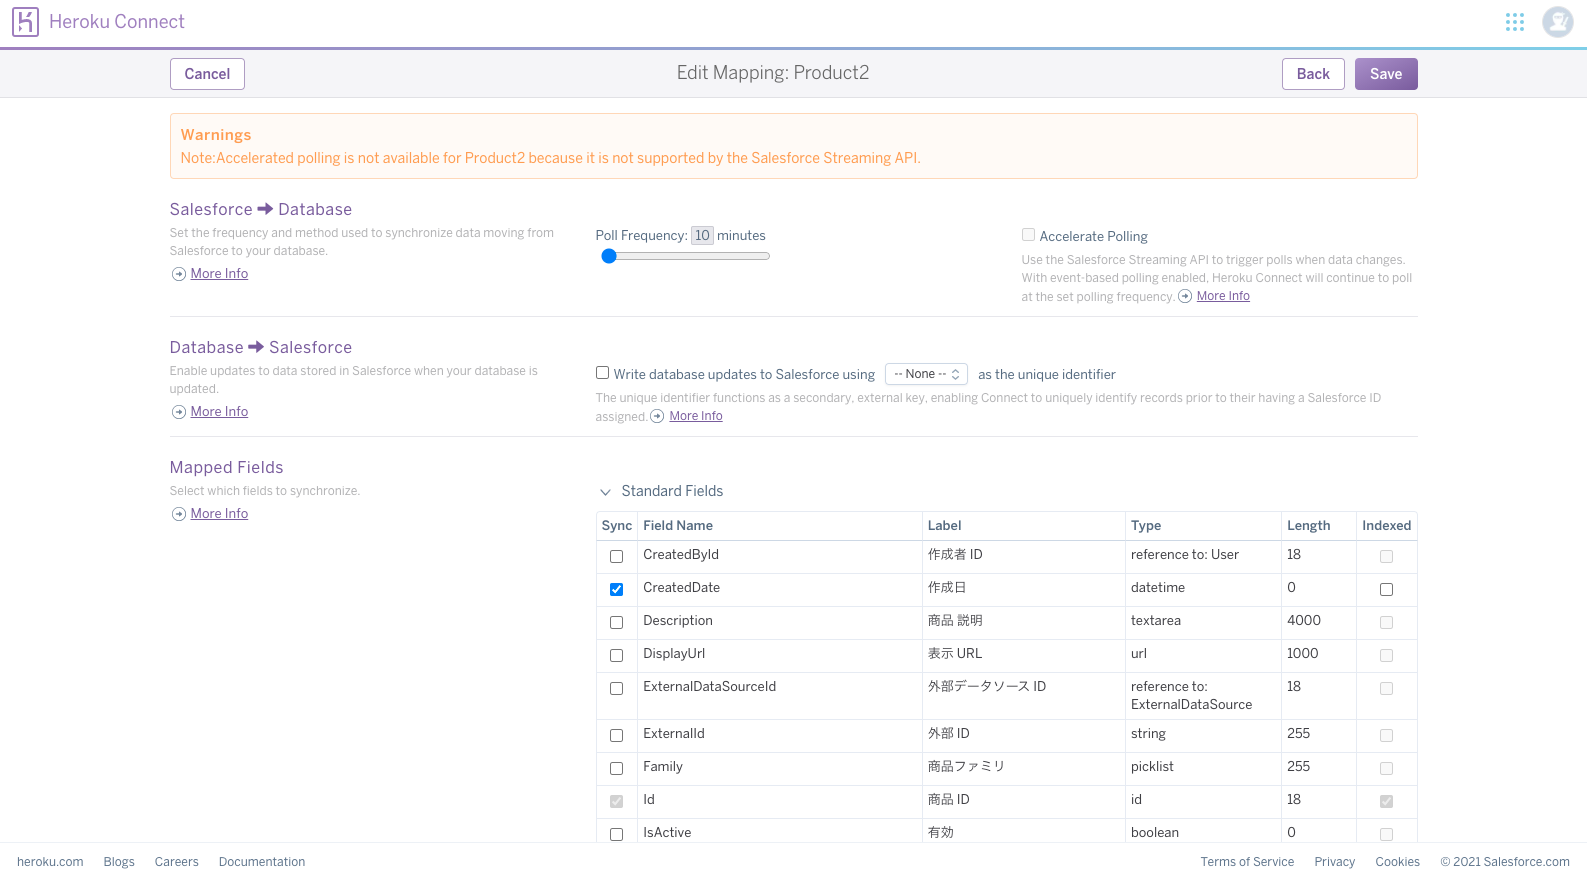
Salesforce → Database
Salesforce から Database への更新は、Salesforce側のデータ更新をpollingで検出しています。
ここでは初期値の10分にしておきます。

Database → Salesfore
Database から Salesforce への更新はリアルタイムで行われます。
事前に商品オブジェクトに外部商品Idを追加しているので、これをキーとして使います。

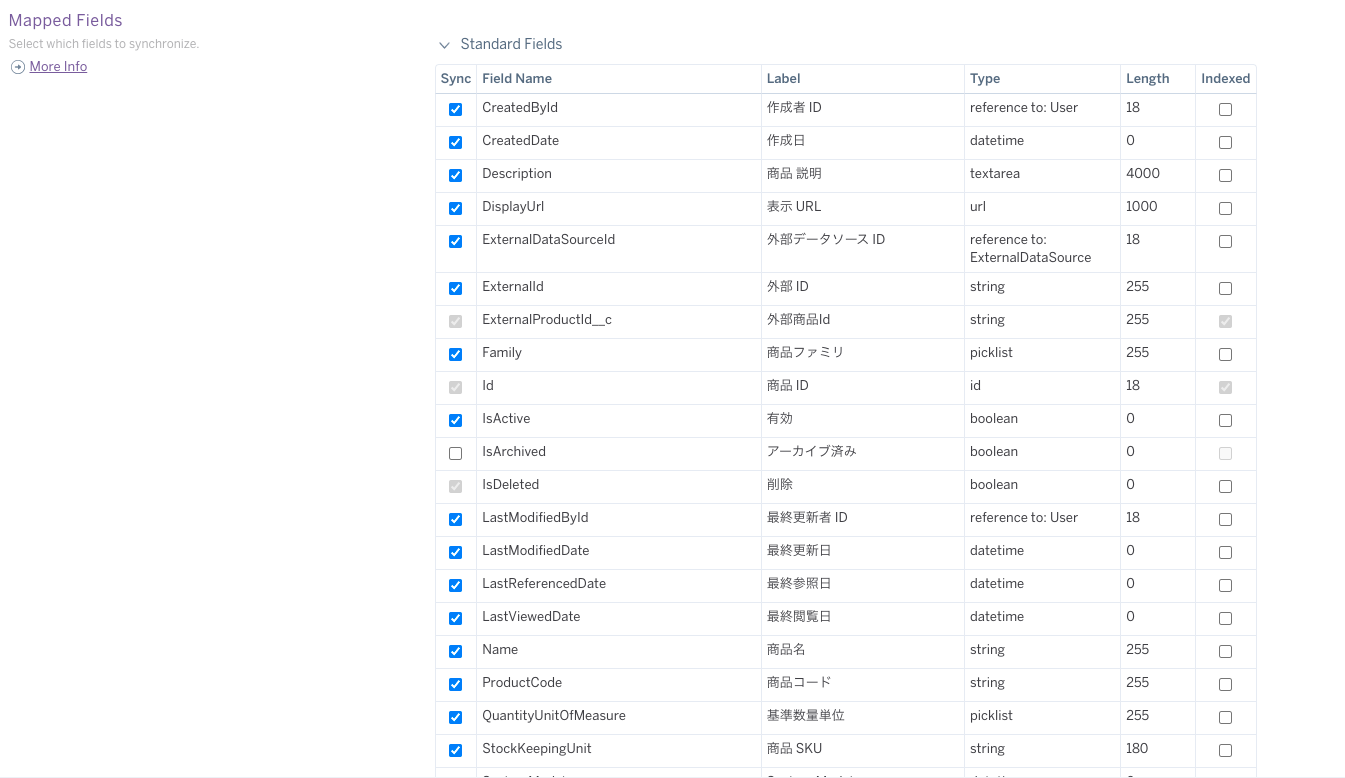
Mapping Fields
Database 側とsyncする項目を指定します。
ここでは IsArchived 以外は全部選択しました。
マッピング設定完了後
psql で salesforce schema を参照してみます。
 1
 2
 3
 4
 5
 6
 7
 8
 9
10
11
12
13
14
15
16
17
18
19
20
21
22
23
24
25
26
27
28
29
30
31
32
33
34
35
36
37
38
39
40
41
42
| $ heroku psql
--> Connecting to postgresql-opaque-xxxxx
psql (13.2, server 13.3 (Ubuntu 13.3-1.pgdg20.04+1))
SSL connection (protocol: TLSv1.3, cipher: TLS_AES_256_GCM_SHA384, bits: 256, compression: off)
Type "help" for help.
<app-name>::DATABASE=> \d salesforce.product2
Table "salesforce.product2"
Column | Type | Collation | Nullable | Default
-----------------------+-----------------------------+-----------+----------+-------------------------------------------------
externalproductid__c | character varying(255) | | |
family | character varying(255) | | |
externalid | character varying(255) | | |
lastvieweddate | timestamp without time zone | | |
stockkeepingunit | character varying(180) | | |
name | character varying(255) | | |
externaldatasourceid | character varying(18) | | |
displayurl | character varying(1000) | | |
lastmodifieddate | timestamp without time zone | | |
isdeleted | boolean | | |
isactive | boolean | | |
systemmodstamp | timestamp without time zone | | |
lastmodifiedbyid | character varying(18) | | |
createddate | timestamp without time zone | | |
quantityunitofmeasure | character varying(255) | | |
createdbyid | character varying(18) | | |
productcode | character varying(255) | | |
description | character varying(4000) | | |
lastreferenceddate | timestamp without time zone | | |
sfid | character varying(18) | ucs_basic | |
id | integer | | not null | nextval('salesforce.product2_id_seq'::regclass)
_hc_lastop | character varying(32) | | |
_hc_err | text | | |
Indexes:
"product2_pkey" PRIMARY KEY, btree (id)
"hc_idx_product2_lastmodifieddate" btree (lastmodifieddate)
"hc_idx_product2_systemmodstamp" btree (systemmodstamp)
"hcu_idx_product2_externalproductid__c" UNIQUE, btree (externalproductid__c)
"hcu_idx_product2_sfid" UNIQUE, btree (sfid)
Triggers:
hc_product2_logtrigger AFTER INSERT OR DELETE OR UPDATE ON salesforce.product2 FOR EACH ROW WHEN (get_xmlbinary()::text = 'base64'::text) EXECUTE FUNCTION salesforce.hc_product2_logger()
hc_product2_status_trigger BEFORE INSERT OR UPDATE ON salesforce.product2 FOR EACH ROW EXECUTE FUNCTION salesforce.hc_product2_status()
|
テーブルはできていました。
今度は Salesforce にレコードを作ってそれを参照できるかやってみます。
作った商品レコードはこちらです。
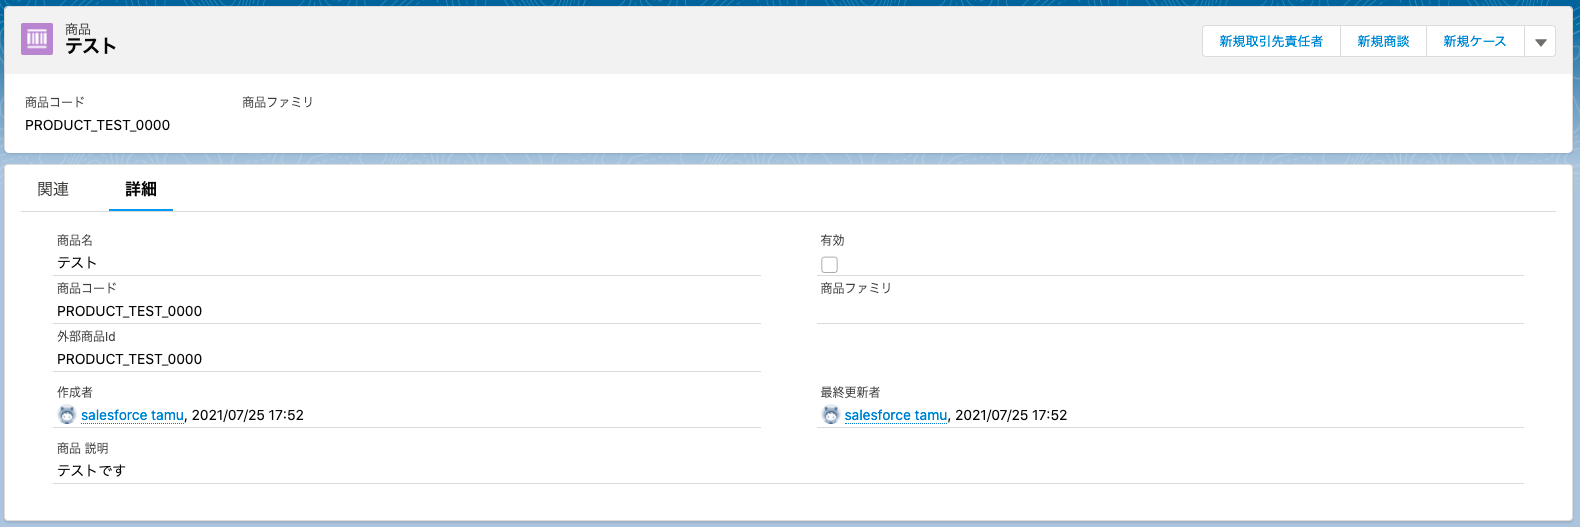
これをSQLで取れるかやってみます。
1
2
3
4
5
| <app-name>::DATABASE=> select * from salesforce.product2;
externalproductid__c | family | externalid | lastvieweddate | stockkeepingunit | name | externaldatasourceid | displayurl | lastmodifieddate | isdeleted | isactive | systemmodstamp | lastmodifiedbyid | createddate | quantityunitofmeasure | createdbyid | productcode | description | lastreferenceddate | sfid | id | _hc_lastop | _hc_err
----------------------+--------+------------+---------------------+------------------+-----------------------------------+----------------------+------------+---------------------+-----------+----------+---------------------+--------------------+---------------------+-----------------------+--------------------+-------------------+-------------+---------------------+--------------------+----+------------+---------
PRODUCT_TEST_0000 | | | 2021-07-25 08:53:39 | | テスト | | | 2021-07-25 08:52:10 | f | f | 2021-07-25 08:52:10 | 0055h00000xxxxxxxx | 2021-07-25 08:52:10 | | 0055h00000xxxxxxxx | PRODUCT_TEST_0000 | テストです | 2021-07-25 08:53:39 | 01txxxxxxxxxxxxxxx | 20 | SYNCED |
(1 row)
|
取れました!