tamuです。
lightning-record-formを試してみました。
いわゆるレコード詳細ページで見るあれです。
最小コード
record-id で指定するIdは15桁でも18桁でもどちらでも大丈夫です。
1
2
3
4
5
| <lightning-record-form
object-api-name="Product2"
record-id="01t0xxxxxxxxxxx"
fields={fields}>
</lightning-record-form>
|
fields は配列で渡す必要があります。
1
2
3
4
5
6
7
8
9
| import { LightningElement } from 'lwc';
import NAME_FIELD from '@salesforce/schema/Product2.Name';
import PRODUCTCODE_FIELD from '@salesforce/schema/Product2.ProductCode';
import DESCRIPTION_FIELD from '@salesforce/schema/Product2.Description';
export default class Recordform extends LightningElement {
fields = [NAME_FIELD, PRODUCTCODE_FIELD, DESCRIPTION_FIELD];
}
|
これをローカルサーバで起動するとこんな感じになります。
 record-form の最小構成
これはひどい・・・。
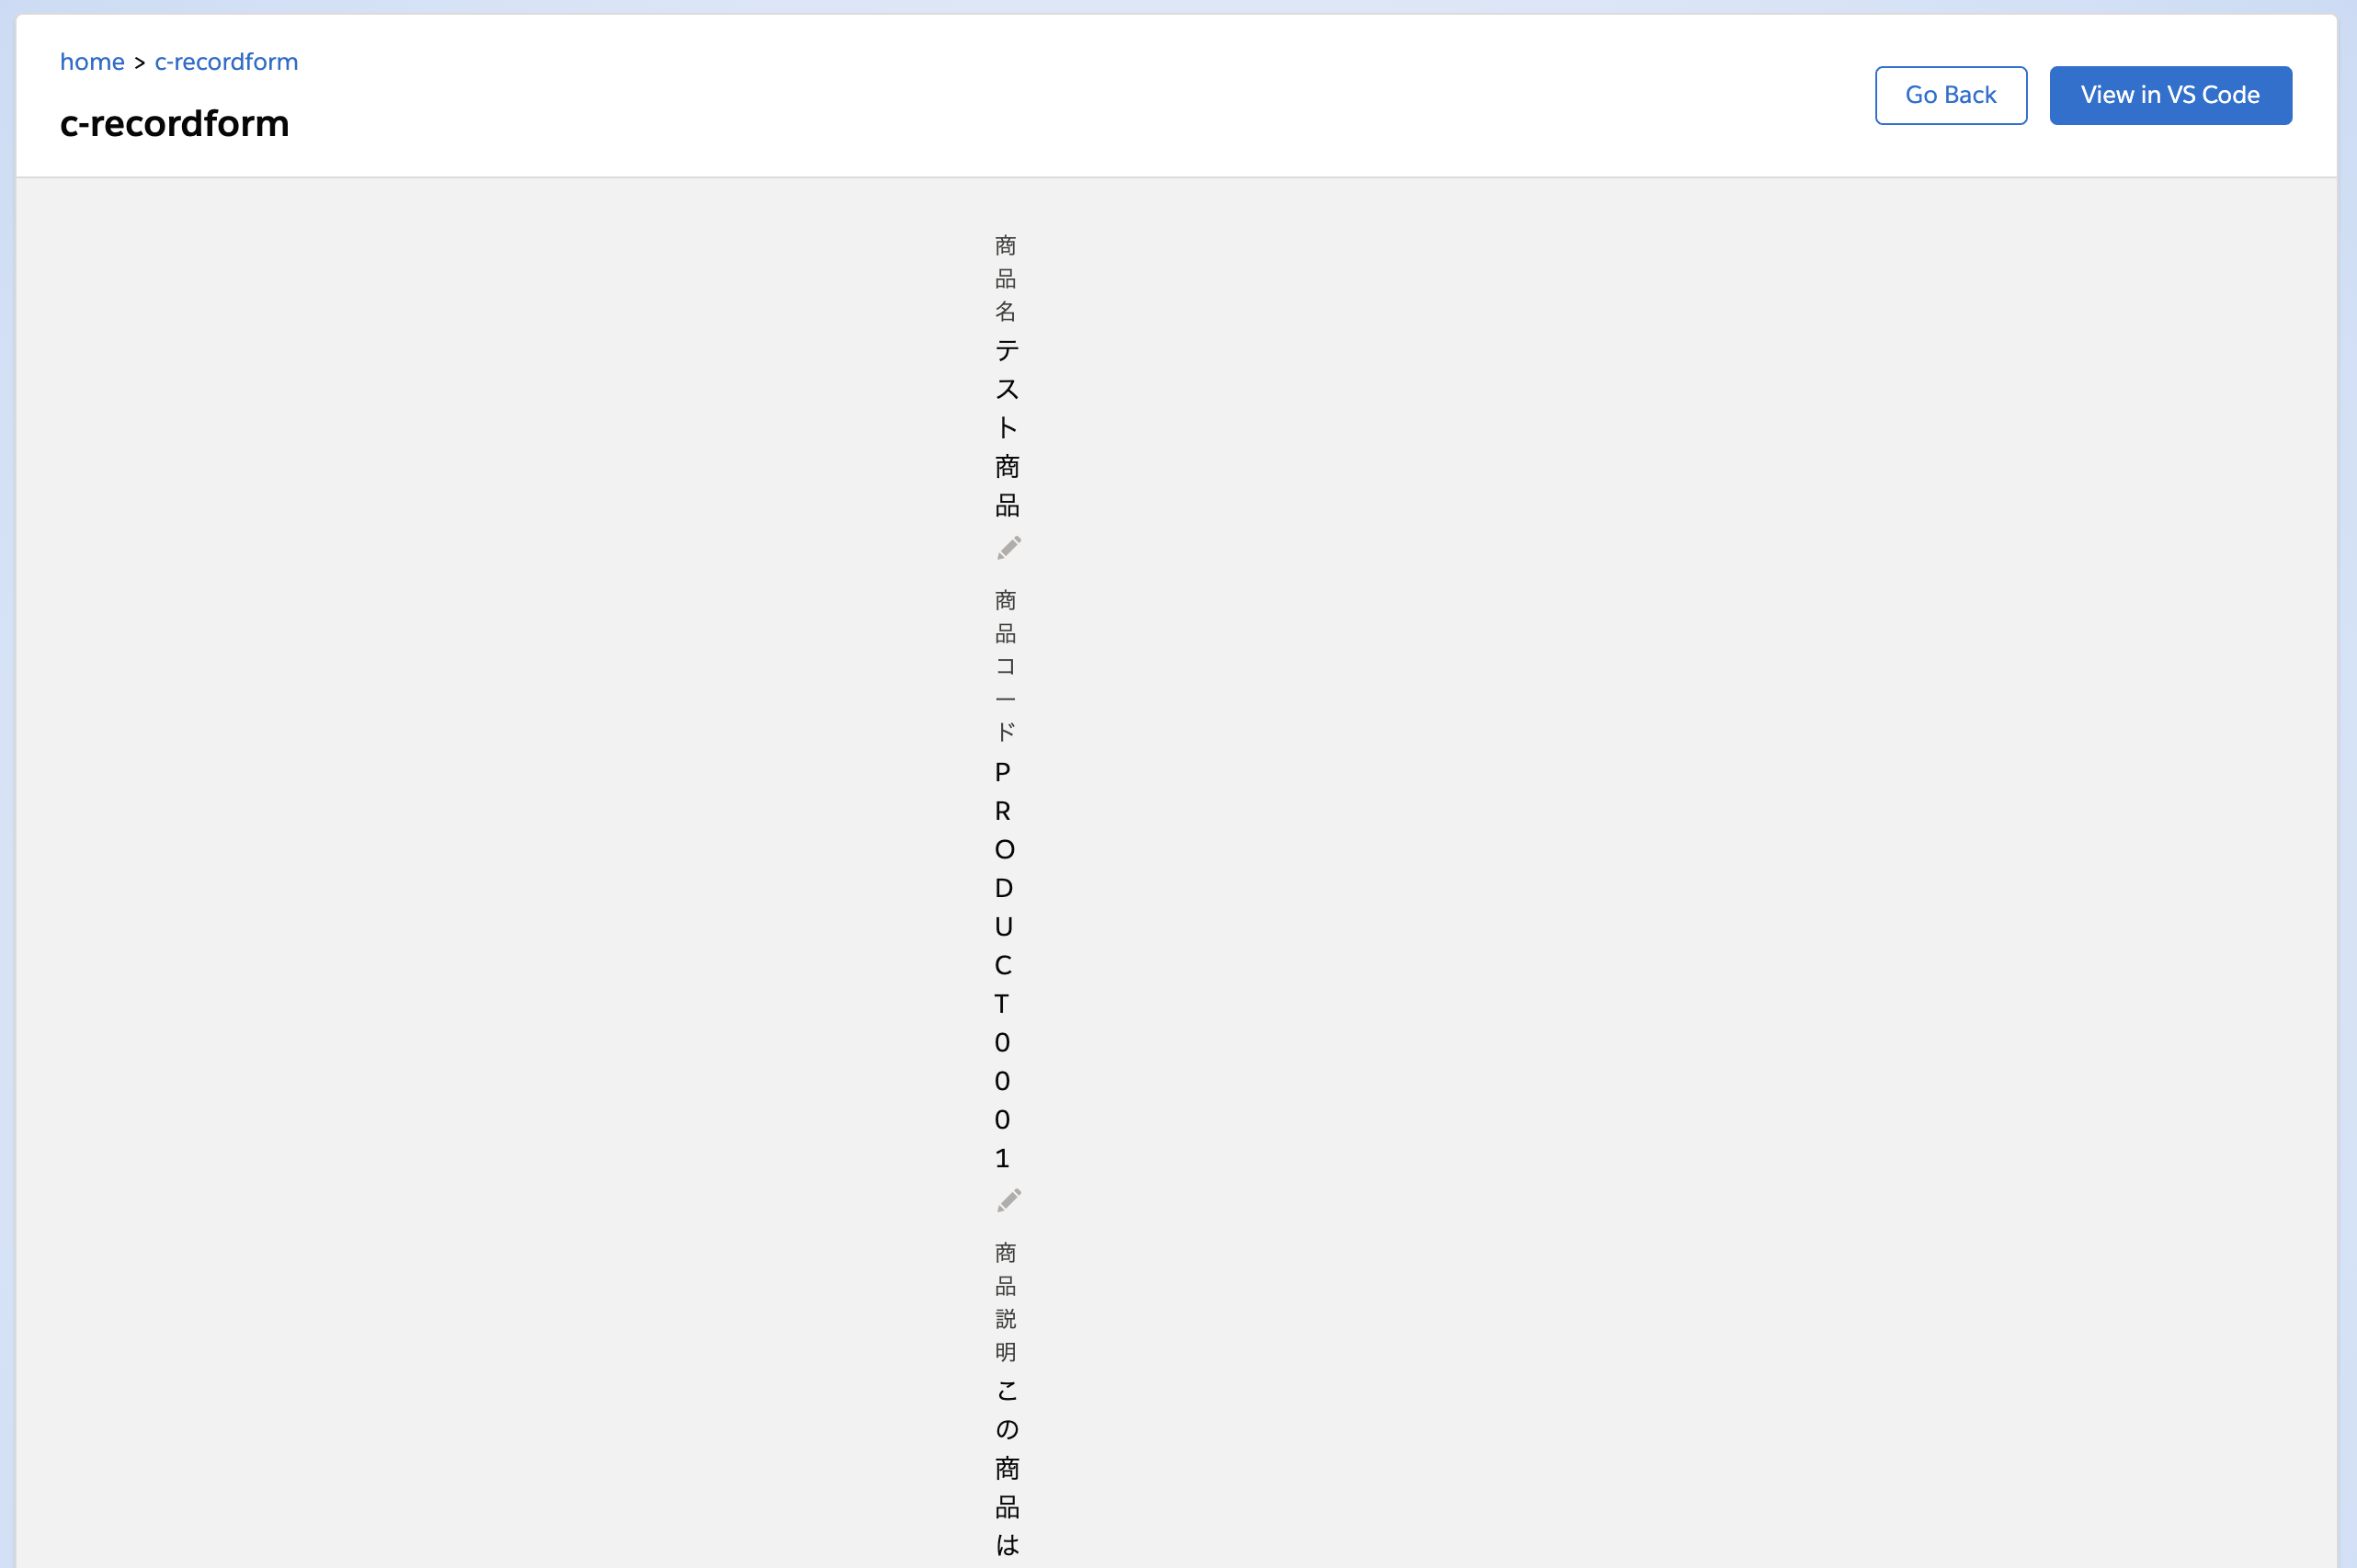
scratch組織にソースをpushしたときのスクリーンショットを載せておきます。
 record-form の最小構成: scratch組織で表示した様子
右側の鉛筆マークを押すことで編集モードに入ることができます。
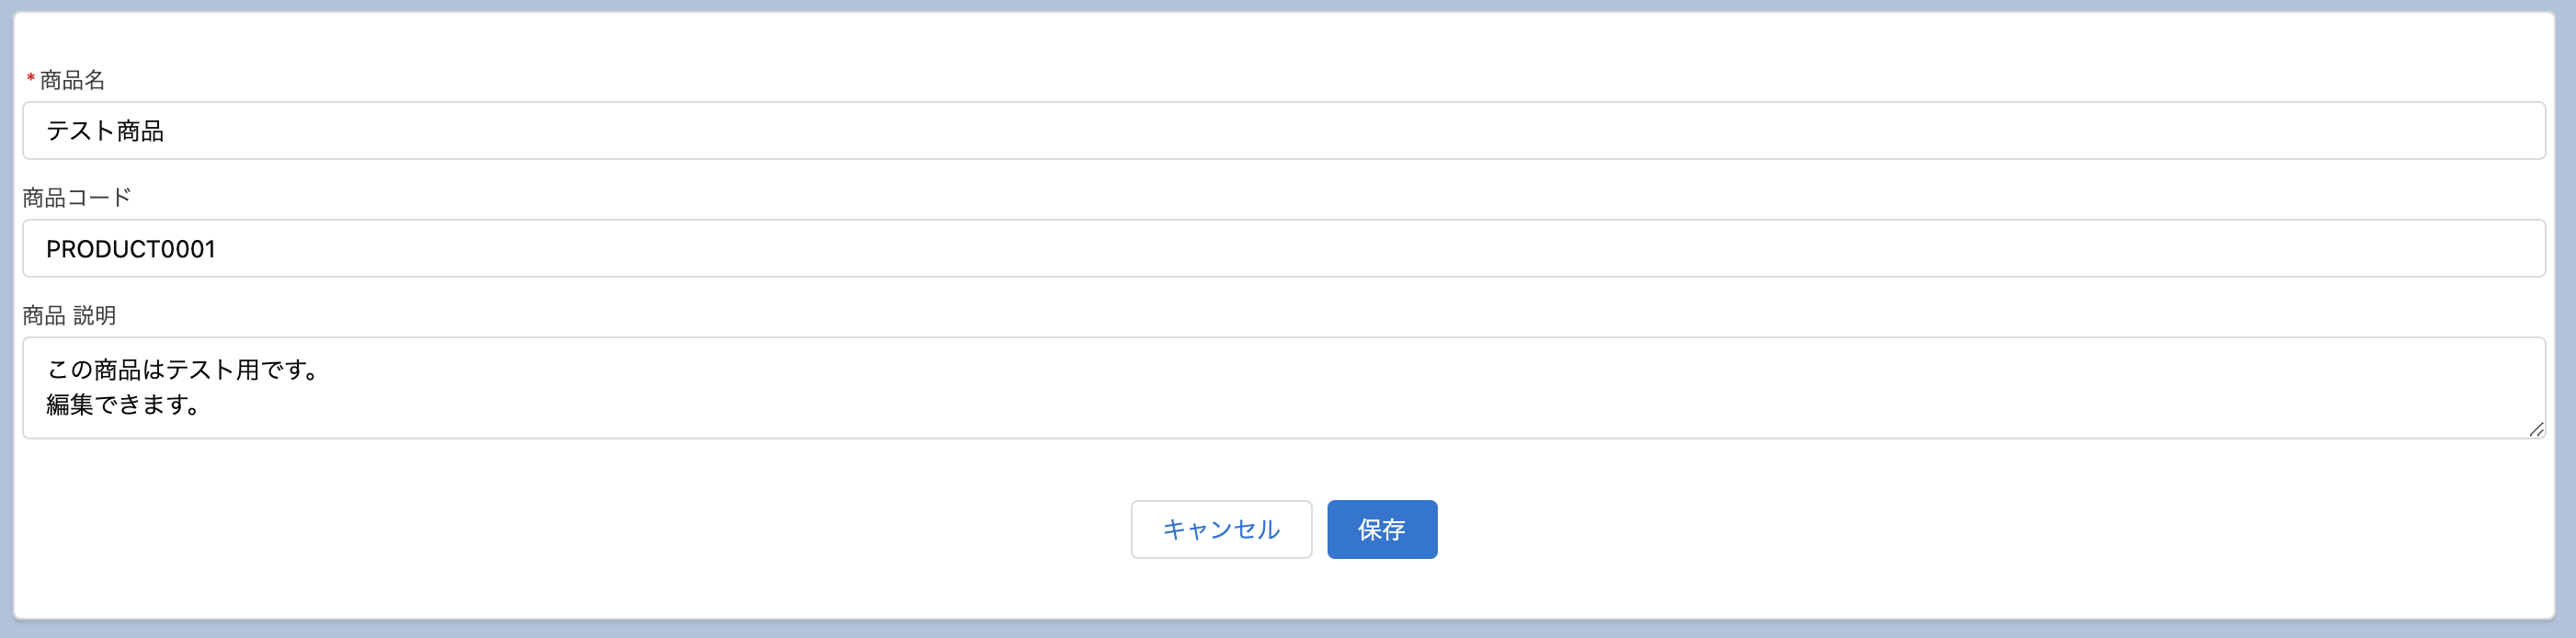 record-form の最小構成: 編集モード時
必須項目はちゃんとメッセージが表示されます。
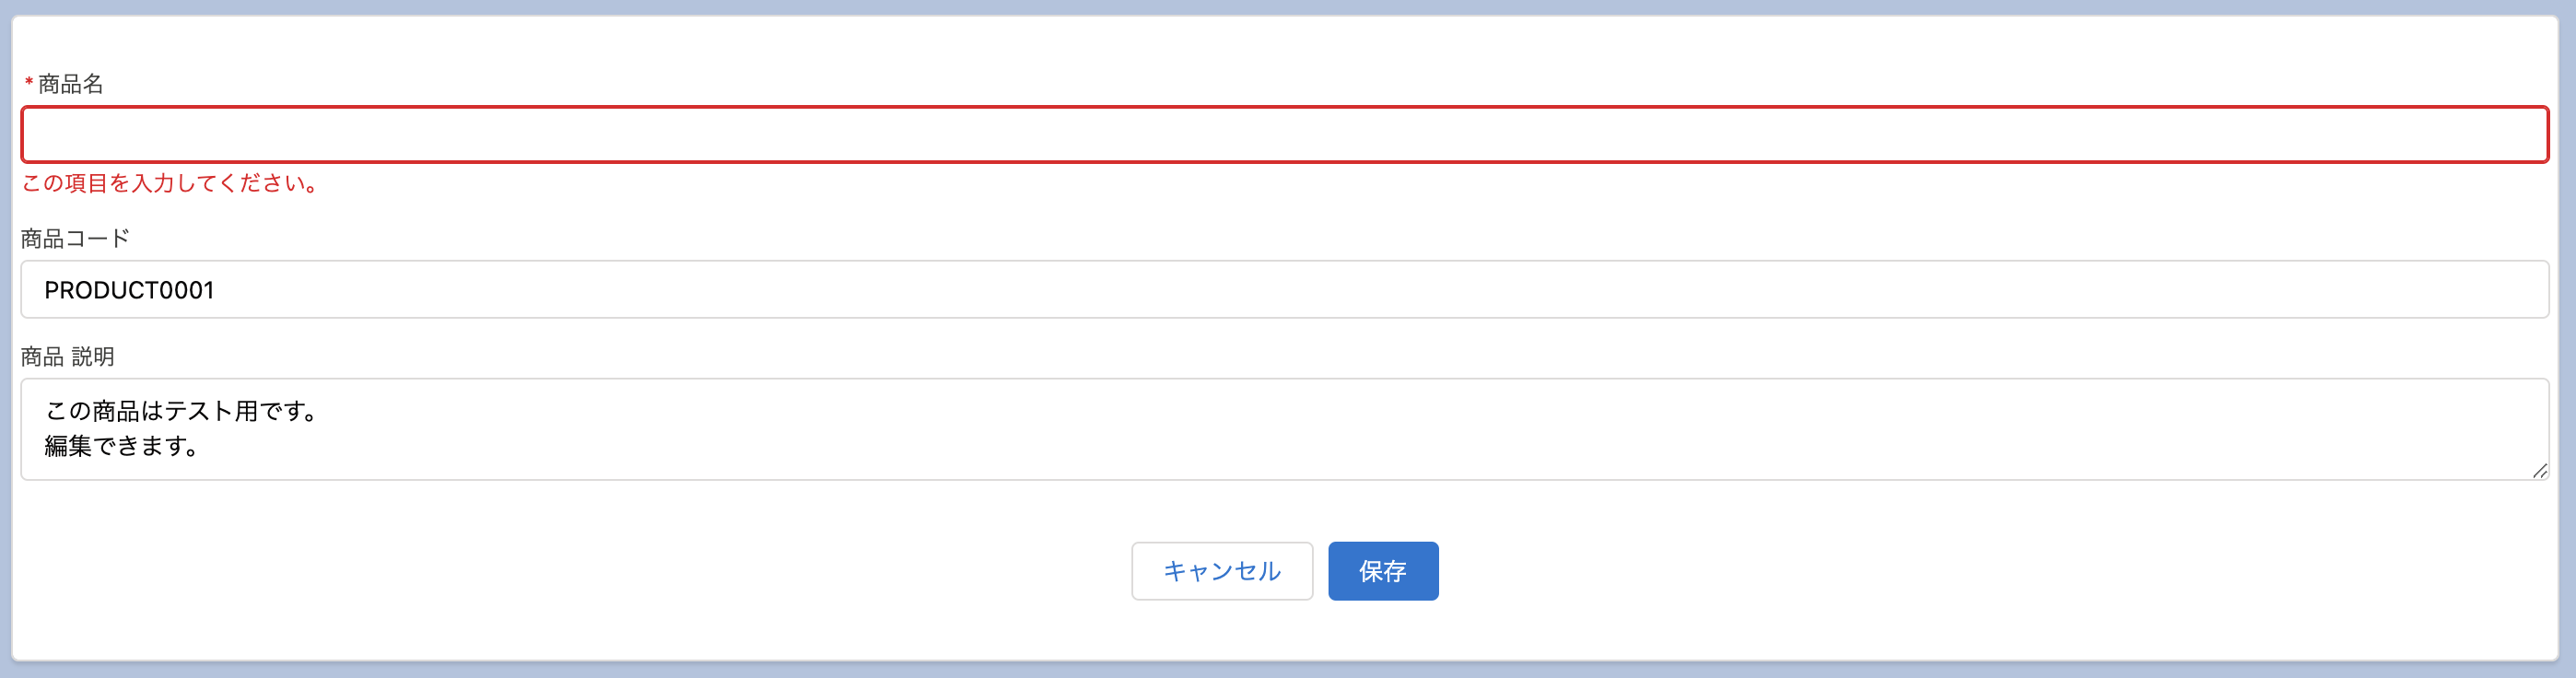 record-form の最小構成: validationの様子
編集後の値はちゃんと保存できます。
 record-form の最小構成: 保存時
すごい。
attribute
lightning-record-form のattributeは次のとおり。
columns
カラム数を指定します。
1
2
3
4
5
6
| <lightning-record-form
object-api-name="Product2"
record-id="01t0xxxxxxxxxxx"
fields={fields}
columns="2">
</lightning-record-form>
|
 カラム数を指定した様子
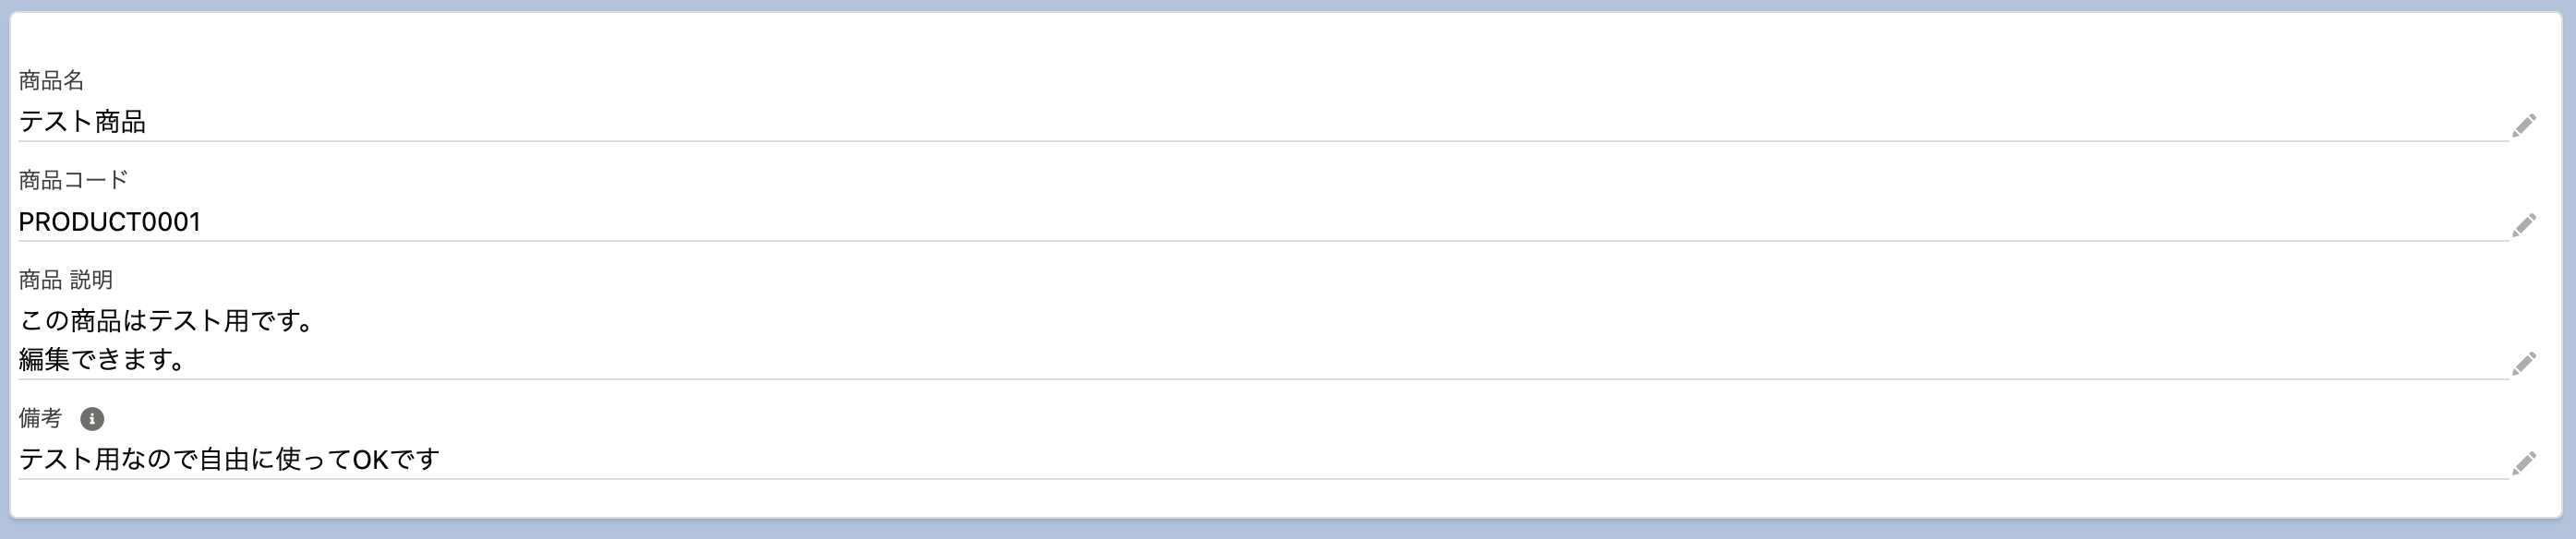
density
フィールドとラベルの見た目を変更します。
compact, comfy, auto が指定できます。
デフォルト値は auto です。
 1
 2
 3
 4
 5
 6
 7
 8
 9
10
11
12
13
14
15
16
17
18
19
20
21
22
23
24
25
26
27
| <div>
compact:
<lightning-record-form
object-api-name="Product2"
record-id="01t0xxxxxxxxxxx"
fields={fields}
density="compact">
</lightning-record-form>
</div>
<div>
comfy:
<lightning-record-form
object-api-name="Product2"
record-id="01t0xxxxxxxxxxx"
fields={fields}
density="comfy">
</lightning-record-form>
</div>
<div>
auto:
<lightning-record-form
object-api-name="Product2"
record-id="01t0xxxxxxxxxxx"
fields={fields}
density="auto">
</lightning-record-form>
</div>
|
compact はフィールドとラベルが同じ行にきます。
comfy はラベルの下にフィールドがきます。
auto は画面の設定次第で動的にその位置が変わるようです。(私の方では確認できませんでしたが)
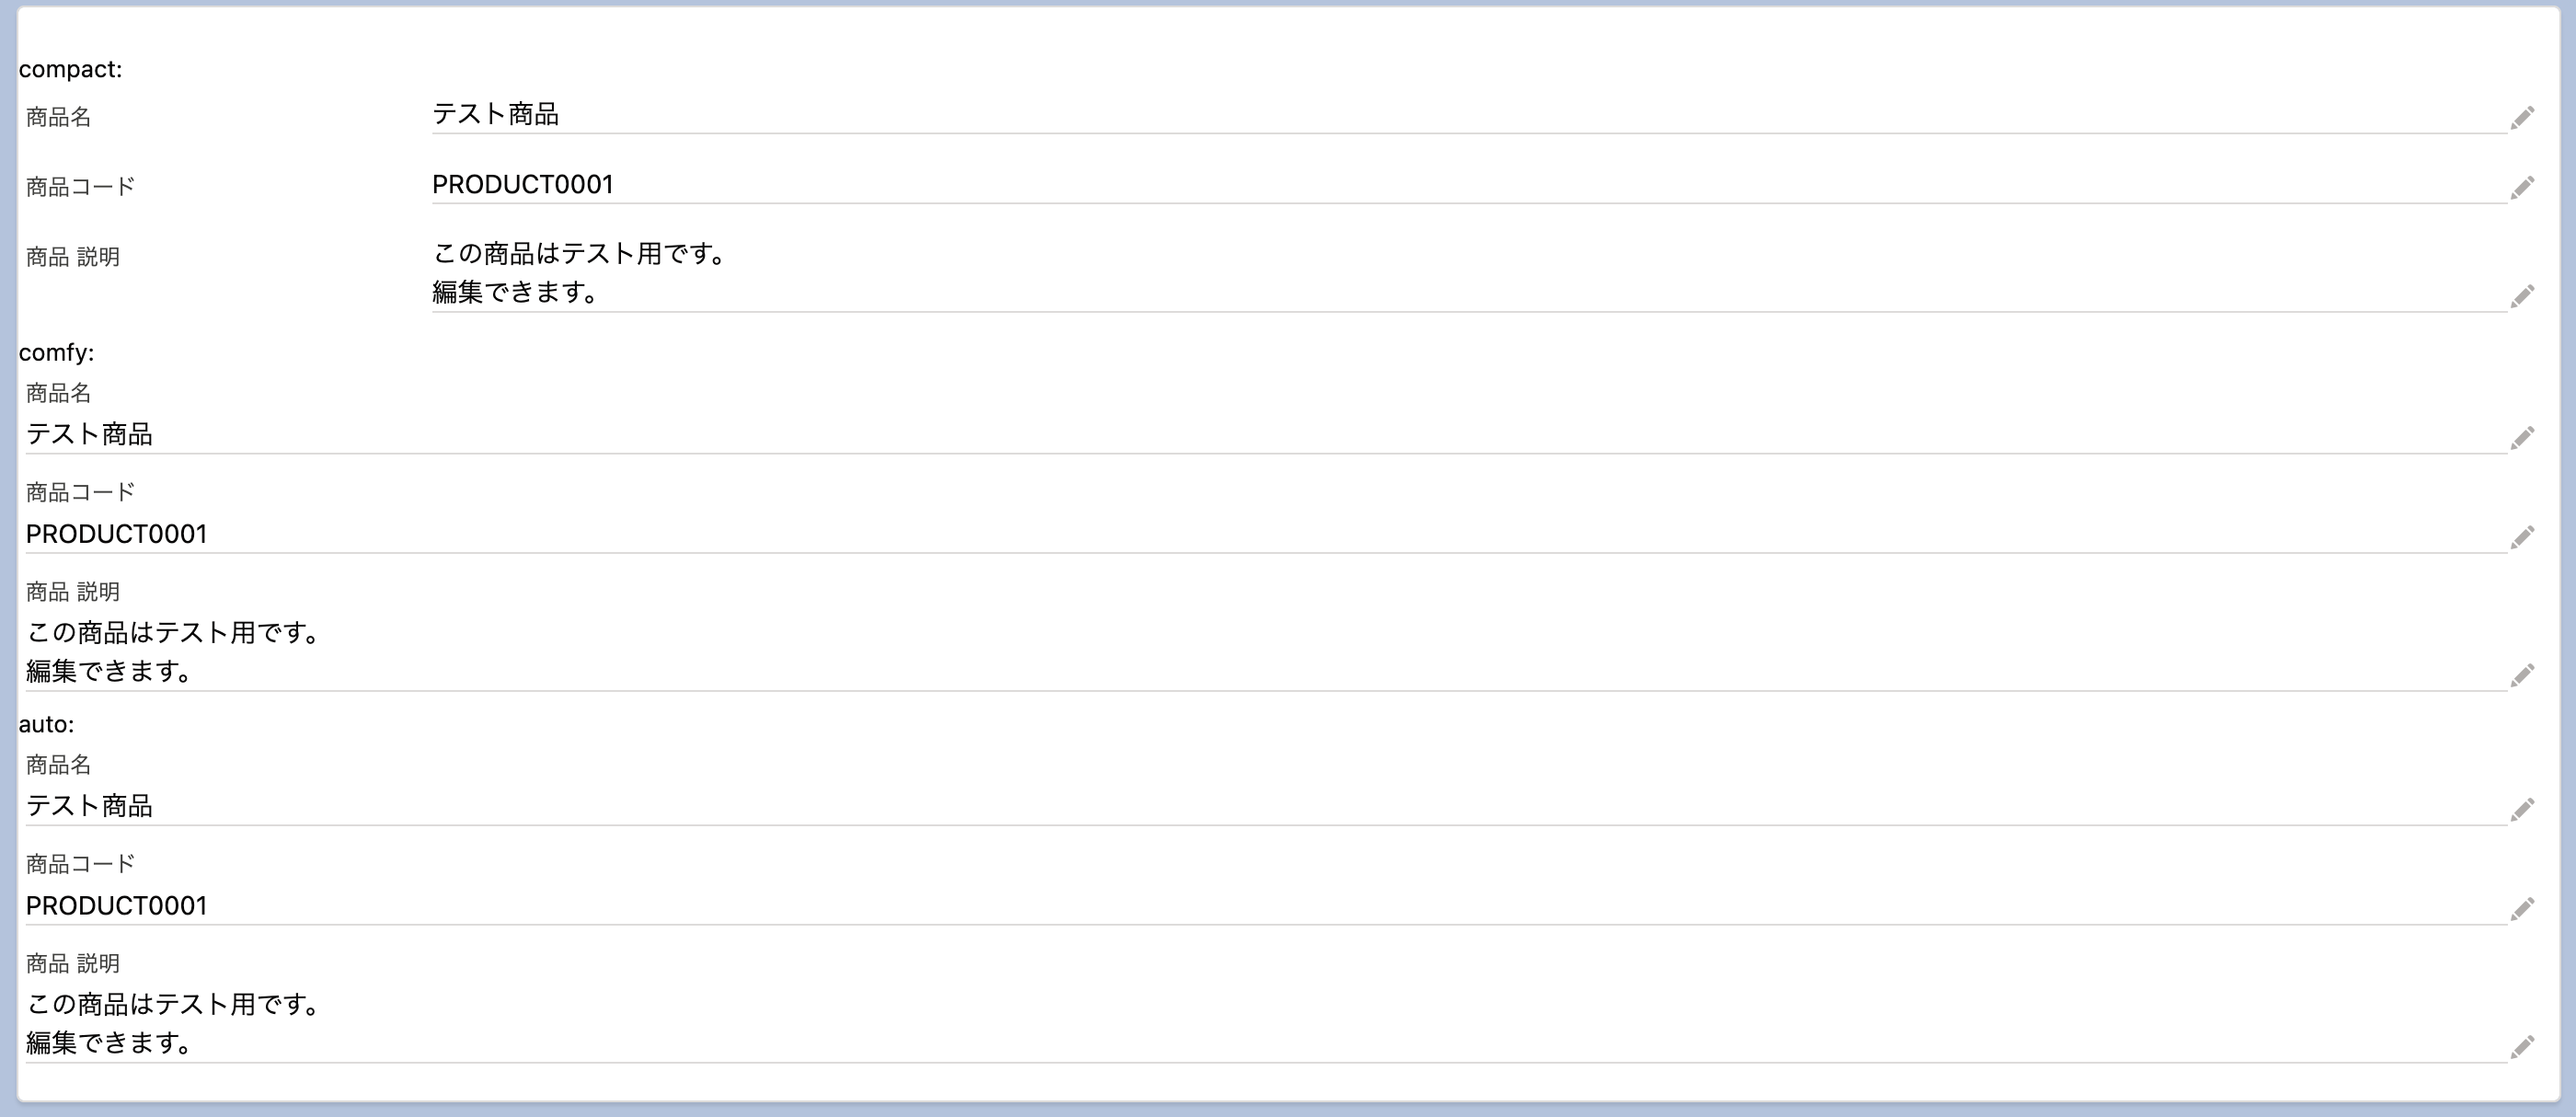 各 density を指定した様子
fields
表示するフィールドを指定します。
指定した順に表示されます。
指定はJS側で行います。
1
2
3
4
5
6
7
8
| import { LightningElement } from 'lwc';
import NAME_FIELD from '@salesforce/schema/Product2.Name';
import PRODUCTCODE_FIELD from '@salesforce/schema/Product2.ProductCode';
import DESCRIPTION_FIELD from '@salesforce/schema/Product2.Description';
export default class Recordform extends LightningElement {
fields = [NAME_FIELD, PRODUCTCODE_FIELD, DESCRIPTION_FIELD];
}
|
カスタム項目の指定
カスタム項目なども同じように import で指定できます。
 1
 2
 3
 4
 5
 6
 7
 8
 9
10
11
| import { LightningElement } from 'lwc';
import NAME_FIELD from '@salesforce/schema/Product2.Name';
import PRODUCTCODE_FIELD from '@salesforce/schema/Product2.ProductCode';
import DESCRIPTION_FIELD from '@salesforce/schema/Product2.Description';
/* カスタム項目: Note__c */
import NOTE_FIELD from '@salesforce/schema/Product2.Note__c';
export default class Recordform extends LightningElement {
fields = [NAME_FIELD, PRODUCTCODE_FIELD, DESCRIPTION_FIELD, NOTE_FIELD];
}
|
VSCodeだとサジェストされないのでちゃんと指定できているのか不安になりますが、
これがビルドされるとこんなJSにコンパイルされるので、無事に指定できているのがわかります。
 1
 2
 3
 4
 5
 6
 7
 8
 9
10
11
12
13
14
15
| var NAME_FIELD = {"fieldApiName":"Name","objectApiName":"Product2"};
var PRODUCTCODE_FIELD = {"fieldApiName":"ProductCode","objectApiName":"Product2"};
var DESCRIPTION_FIELD = {"fieldApiName":"Description","objectApiName":"Product2"};
var NOTE_FIELD = {"fieldApiName":"Note__c","objectApiName":"Product2"};
class Recordform extends lwc.LightningElement {
constructor(...args) {
super(...args);
this.fields = [NAME_FIELD, PRODUCTCODE_FIELD, DESCRIPTION_FIELD, NOTE_FIELD];
}
}
|
 fields にカスタム項目を指定してちゃんと表示されている様子
カスタムオブジェクトの指定
カスタムオブジェクトも同じように import することで使えます。
object-api-name にカスタムオブジェクトを指定します。
1
2
3
4
5
| <lightning-record-form
object-api-name="CustomObject1__c"
record-id="a010xxxxxxxxxxxxxx"
fields={fields}>
</lightning-record-form>
|
カスタムオブジェクトの項目を import します。
VSCodeだとサジェストが効かないですが、ちゃんと動きます。
1
2
3
4
5
6
7
8
| import { LightningElement } from 'lwc';
import CNAME_FIELD from '@salesforce/schema/CustomObject1__c.Name';
import CNOTE_FIELD from '@salesforce/schema/CustomObject1__c.Note__c';
export default class Recordform extends LightningElement {
fields = [CNAME_FIELD,CNOTE_FIELD];
}
|
こういうJSにコンパイルされます。
 1
 2
 3
 4
 5
 6
 7
 8
 9
10
11
| var CNAME_FIELD = {"fieldApiName":"Name","objectApiName":"CustomObject1__c"};
var CNOTE_FIELD = {"fieldApiName":"Note__c","objectApiName":"CustomObject1__c"};
class Recordform extends lwc.LightningElement {
constructor(...args) {
super(...args);
this.fields = [CNAME_FIELD, CNOTE_FIELD];
}
}
|
表示結果はこんな感じ。
 objectにカスタムオブジェクトを指定したときの様子
layout-type
フィールドの表示方法を指定します。
Compact と Full が指定できます。
新規レコードを作る際は Full のみサポートしています。
fields で指定しているなら Compact で良さそうです。
 1
 2
 3
 4
 5
 6
 7
 8
 9
10
11
12
13
14
15
| Compact:
<lightning-record-form
object-api-name="Product2"
record-id="01t0xxxxxxxxxxx"
fields={fields}
layout-type="Compact">
</lightning-record-form>
<br /><br />
Full:
<lightning-record-form
object-api-name="Product2"
record-id="01t0xxxxxxxxxxx"
fields={fields}
layout-type="Full">
</lightning-record-form>
|
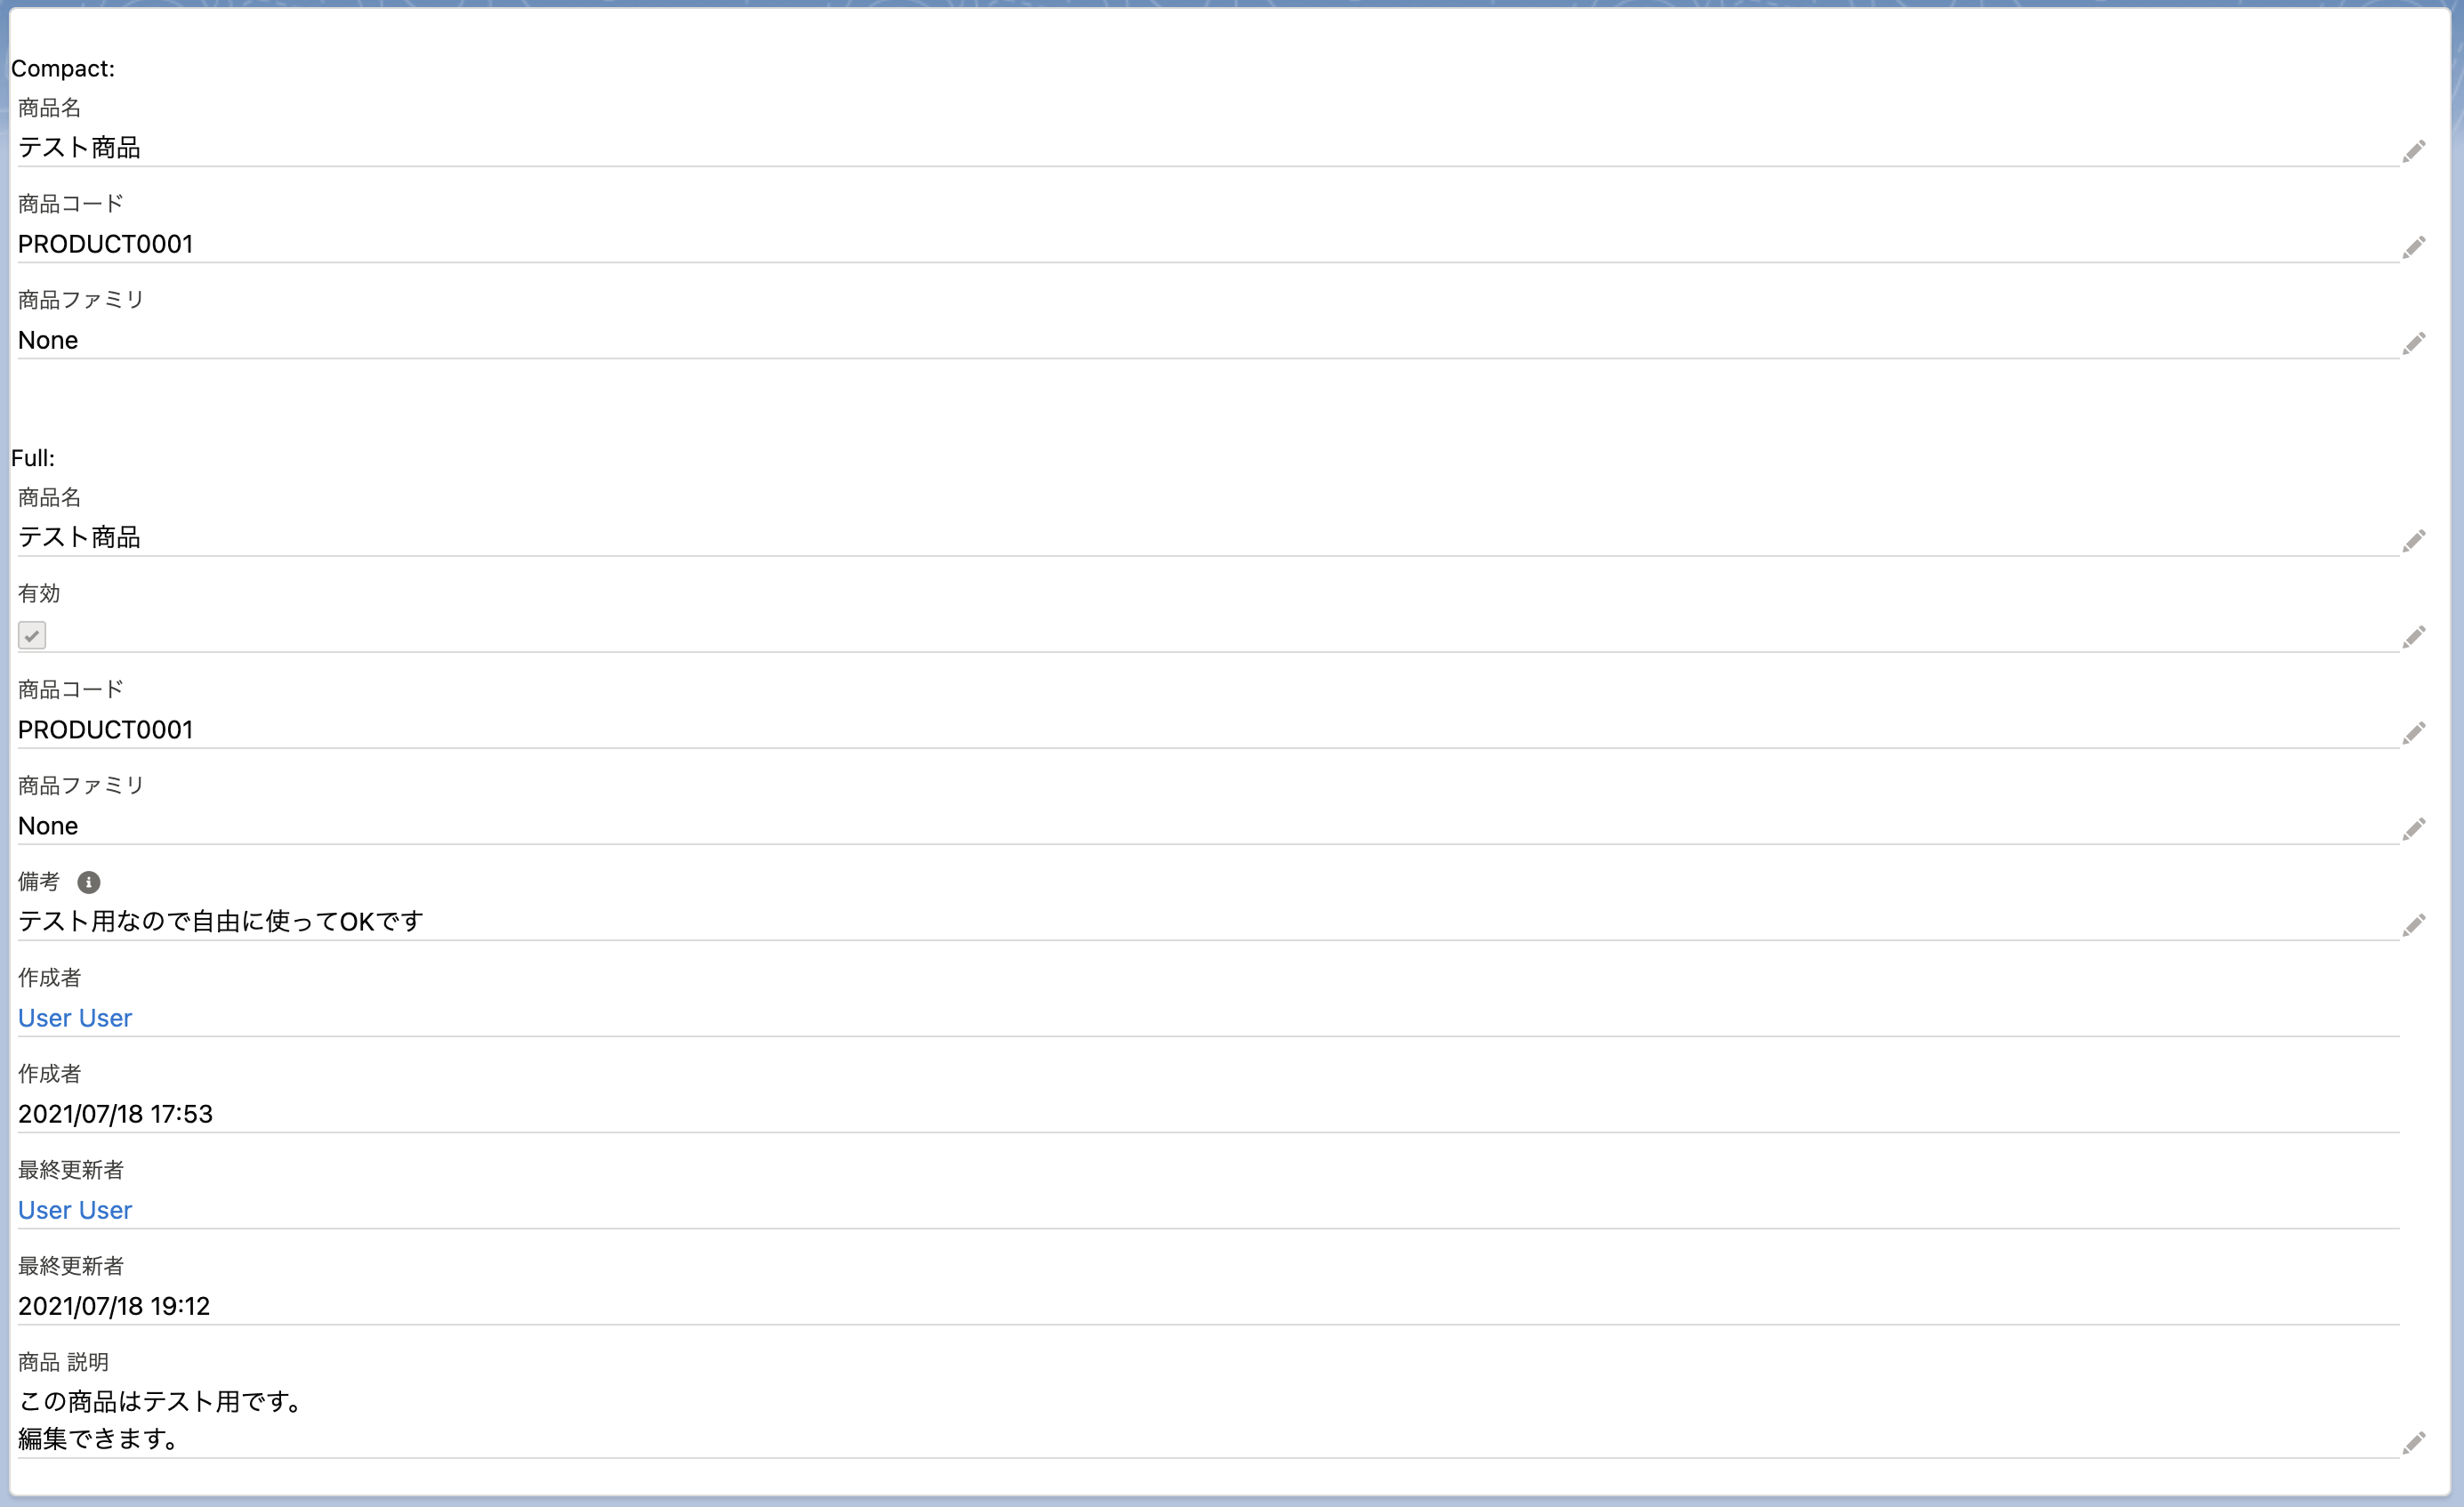 CompactとFullを表示した様子
mode
フォームの操作・表示についての指定です。
view, edit, readonly が指定できます。
 1
 2
 3
 4
 5
 6
 7
 8
 9
10
11
12
13
14
15
16
17
18
19
20
21
22
23
| view:
<lightning-record-form
object-api-name="Product2"
record-id="01t0xxxxxxxxxxx"
fields={fields}
mode="view">
</lightning-record-form>
<br /><br />
edit:
<lightning-record-form
object-api-name="Product2"
record-id="01t0xxxxxxxxxxx"
fields={fields}
mode="edit">
</lightning-record-form>
<br /><br />
read-only:
<lightning-record-form
object-api-name="Product2"
record-id="01t0xxxxxxxxxxx"
fields={fields}
mode="read-only">
</lightning-record-form>
|
※ システム管理者でログインしているため、 read-only を指定しているけど編集可能となってます
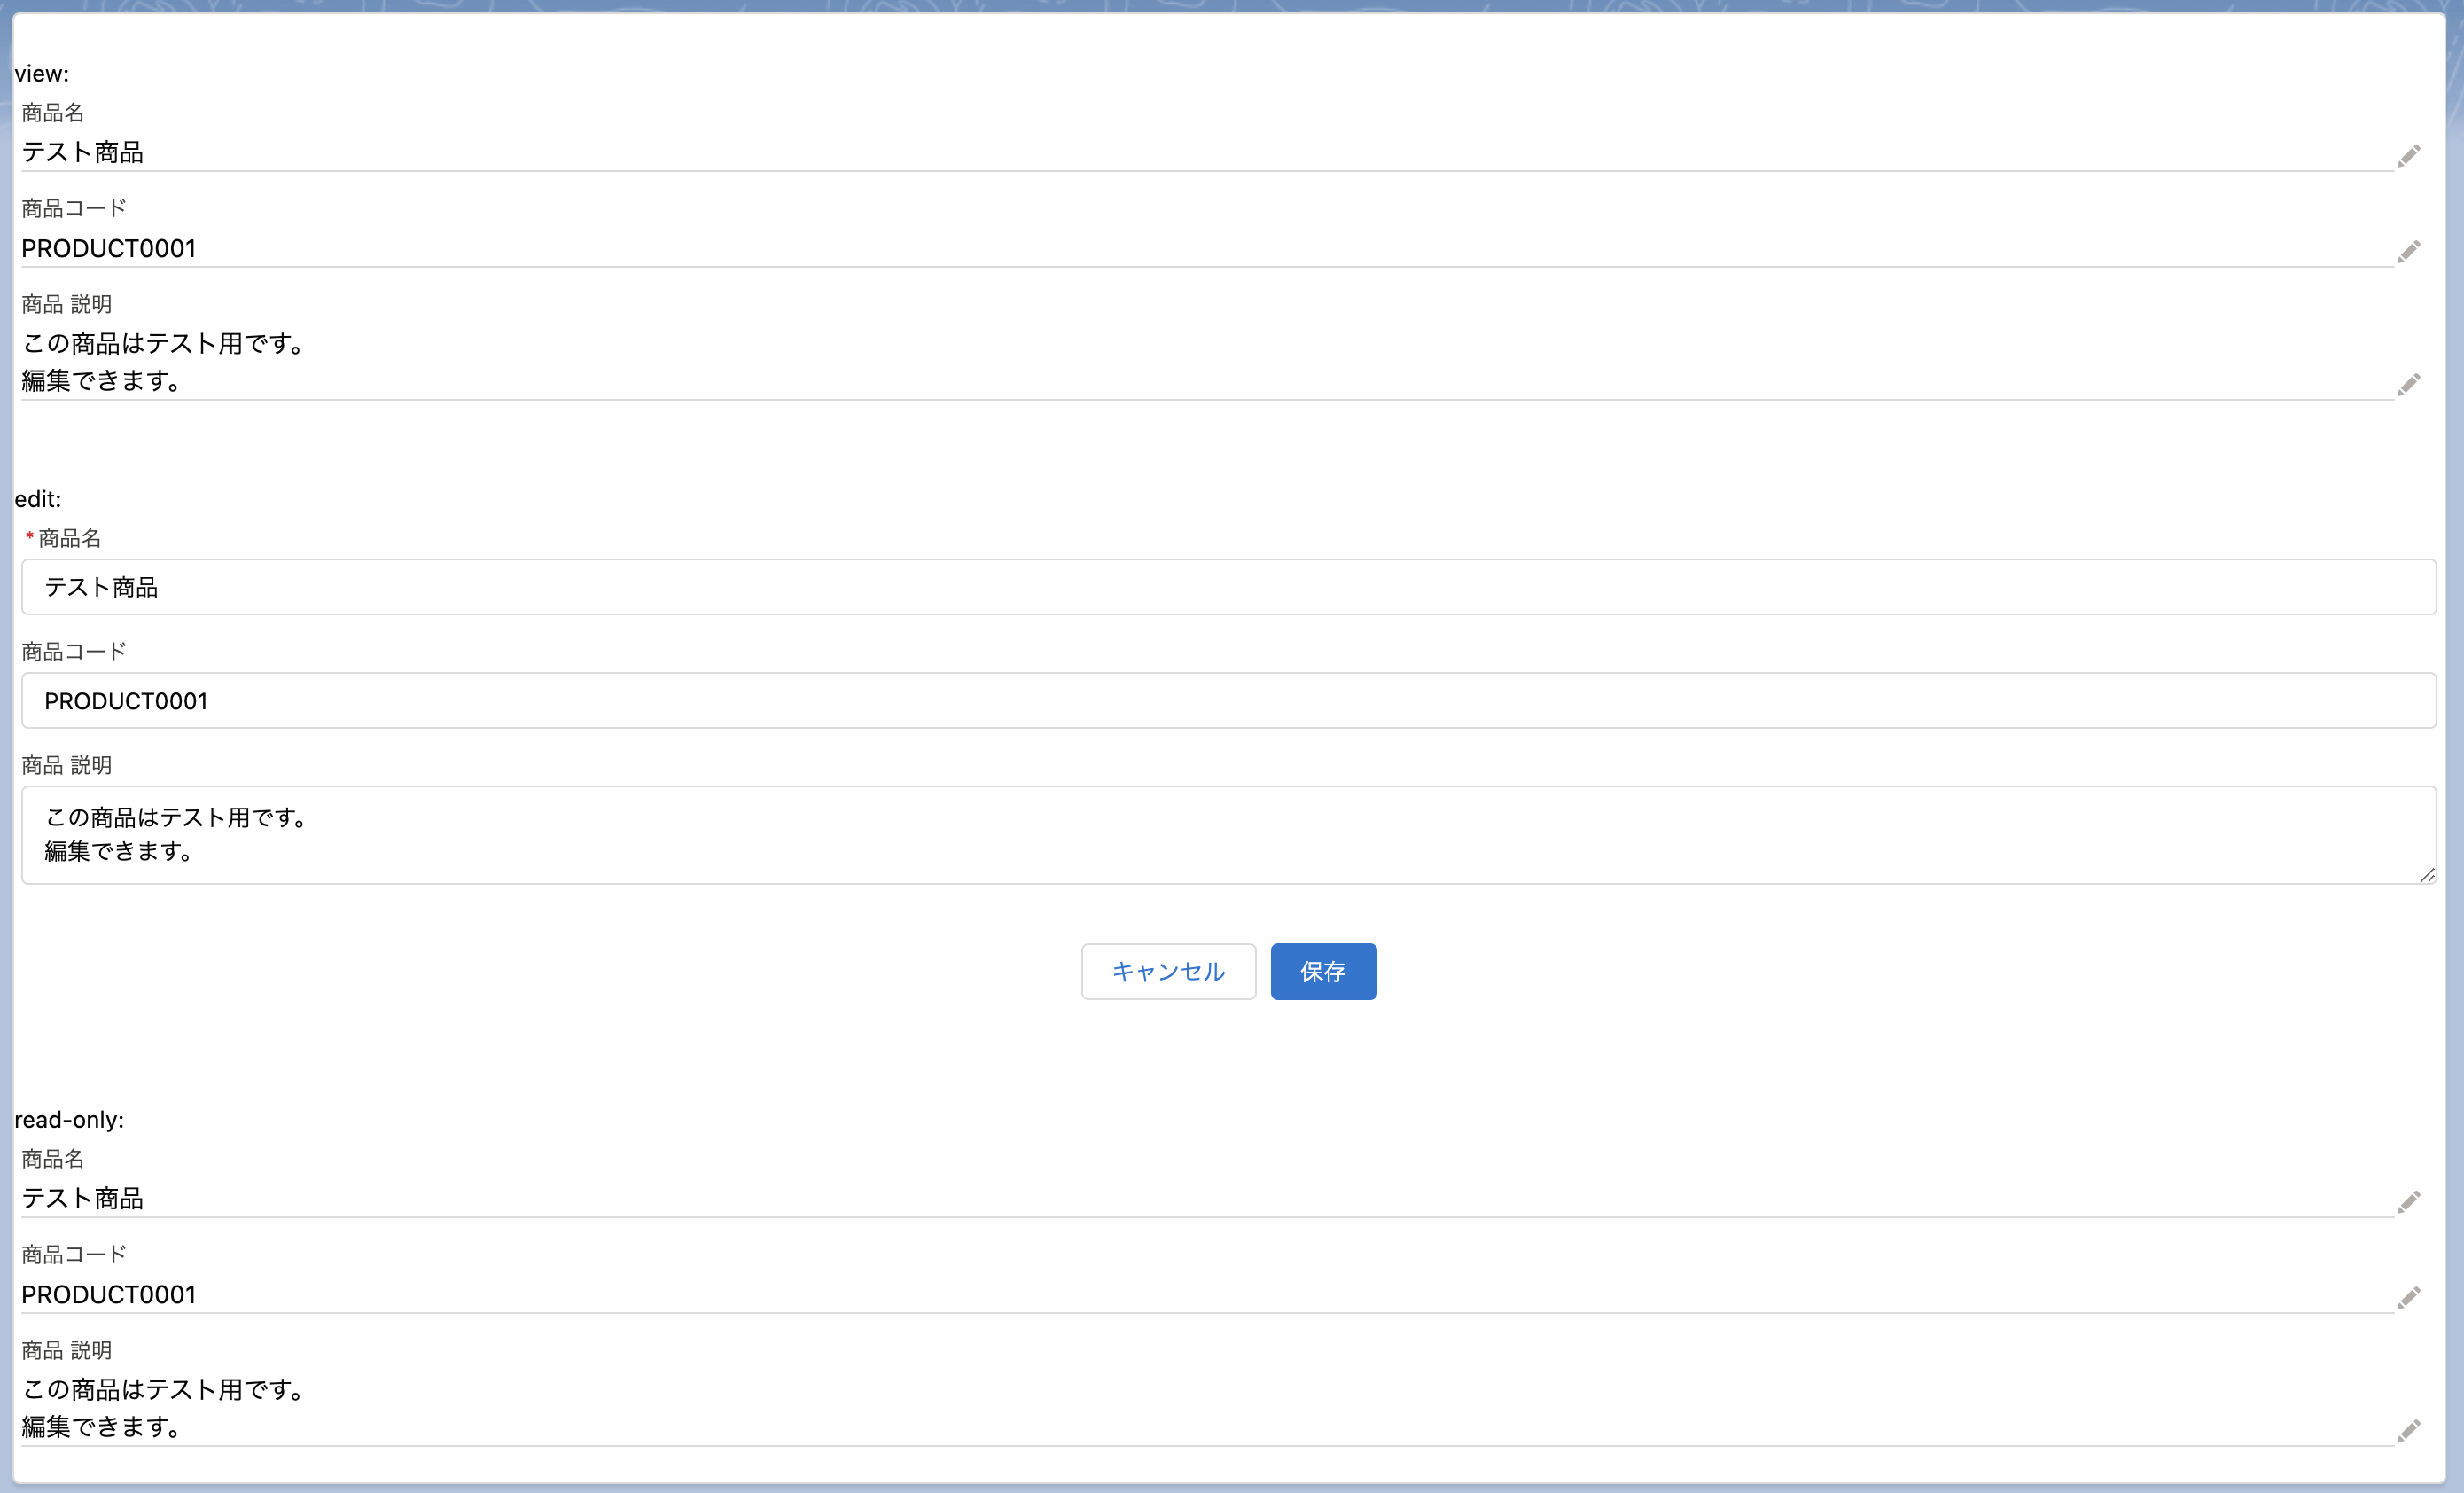 mode を指定している様子
modeのデフォルト値
record-id が指定されていないと新規レコード作成用の edit となります。
1
2
3
4
5
| mode: 指定なし
<lightning-record-form
object-api-name="Product2"
fields={fields}>
</lightning-record-form>
|
record-id が指定されていると view となります。
object-api-name
オブジェクトのAPI名を指定します。
この項目は必須です。
record-id
レコードを参照する際に指定します。
record-type-id
レコードタイプを複数持つオブジェクトを作成する場合、レコードタイプのIDを指定します。
デフォルト値はありません。
プロファイルで指定しているデフォルト値となるようです。
method
lightning-record-form のmethodは次のとおり。
submit
フォームの内容を submit します。
通常の 保存 以外のボタンで submit したいときに使います。
引数: カラムのAPI名と値のハッシュ値。未指定の場合はフォームの内容をそのまま保存する。
サンプル
lightning-record-form と lightning-button を2つ用意します。
1
2
3
4
5
6
7
8
| <lightning-record-form
object-api-name="Product2"
record-id="01t0xxxxxxxxxxx"
mode="edit"
fields={fields}>
</lightning-record-form>
<lightning-button onclick={handleSubmit} label="送信"></lightning-button>
<lightning-button onclick={handleDefault} label="商品コードをデフォルト値にする"></lightning-button>
|
handleSubmit は引数を指定せず submit します。
handleDefault は ProductCode に対して 000000 を指定します。
 1
 2
 3
 4
 5
 6
 7
 8
 9
10
11
12
13
14
15
16
17
18
| import { LightningElement } from 'lwc';
import NAME_FIELD from '@salesforce/schema/Product2.Name';
import PRODUCTCODE_FIELD from '@salesforce/schema/Product2.ProductCode';
import DESCRIPTION_FIELD from '@salesforce/schema/Product2.Description';
export default class Recordform extends LightningElement {
fields = [NAME_FIELD, PRODUCTCODE_FIELD, DESCRIPTION_FIELD];
handleSubmit() {
this.template.querySelector('lightning-record-form').submit();
}
handleDefault() {
const f = this.template.querySelector('lightning-record-form');
f.submit({'ProductCode': '000000'});
}
}
|
これを表示するとこうなります。
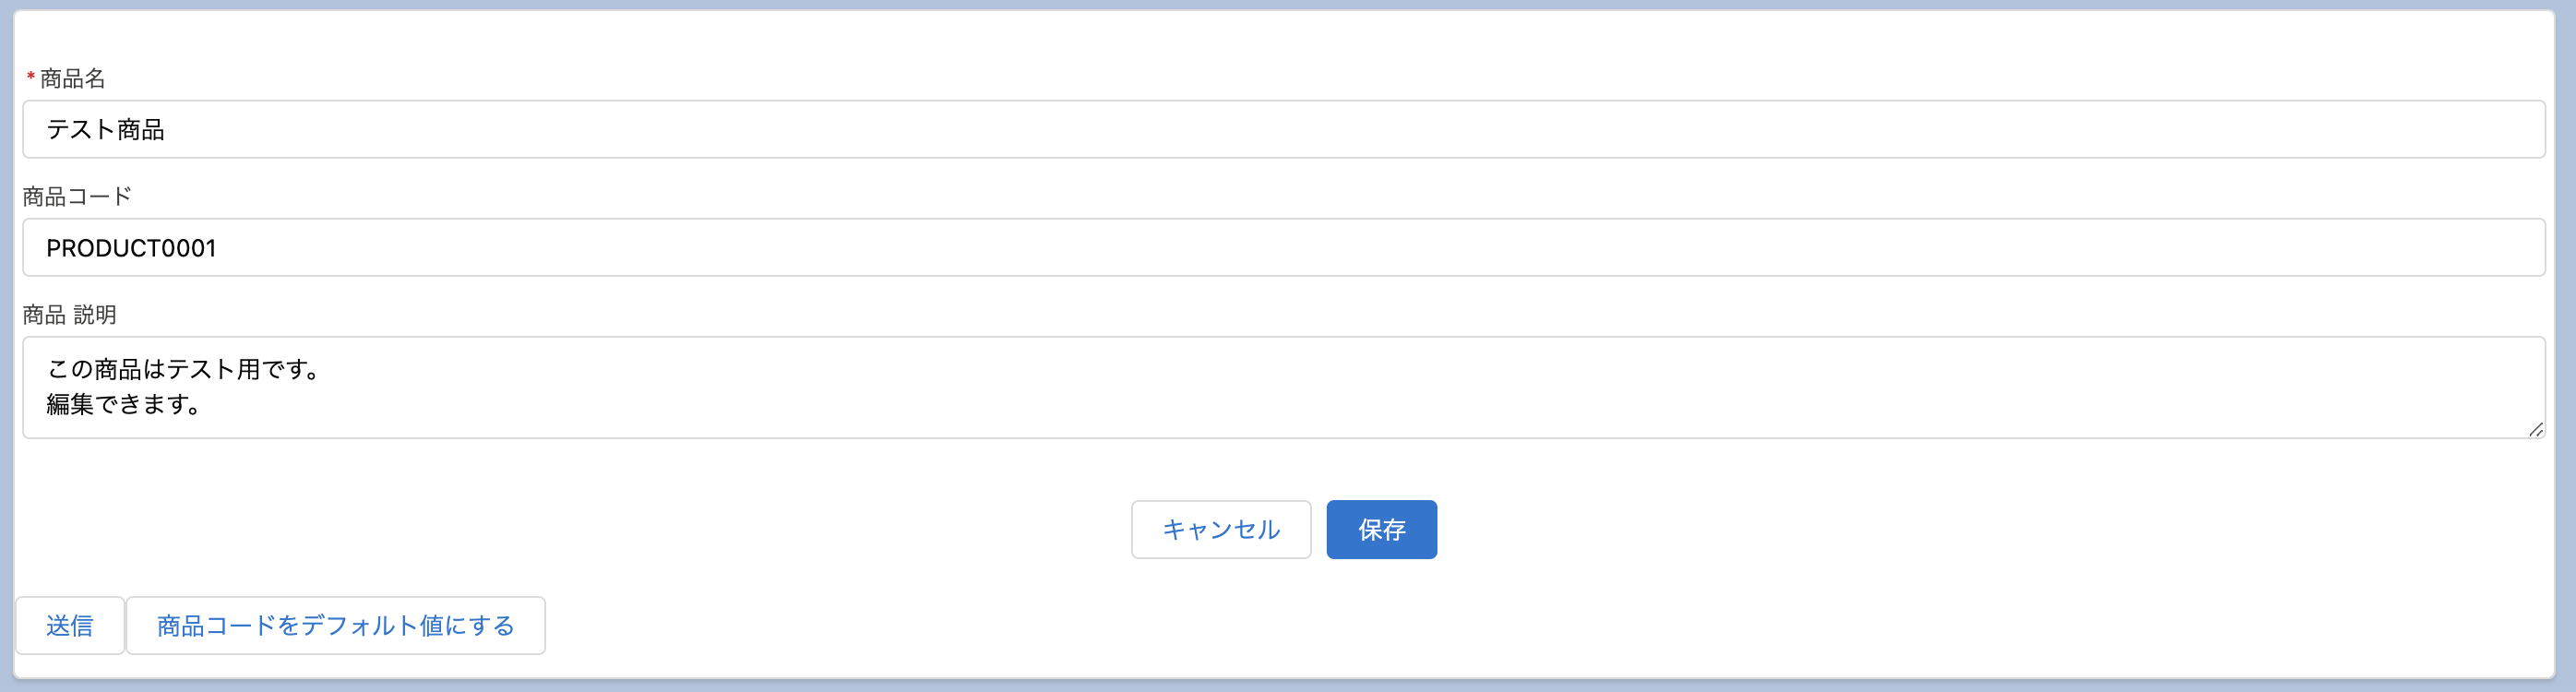 submit のサンプル
商品名、商品コード、商品説明の末尾に aa を追加して、
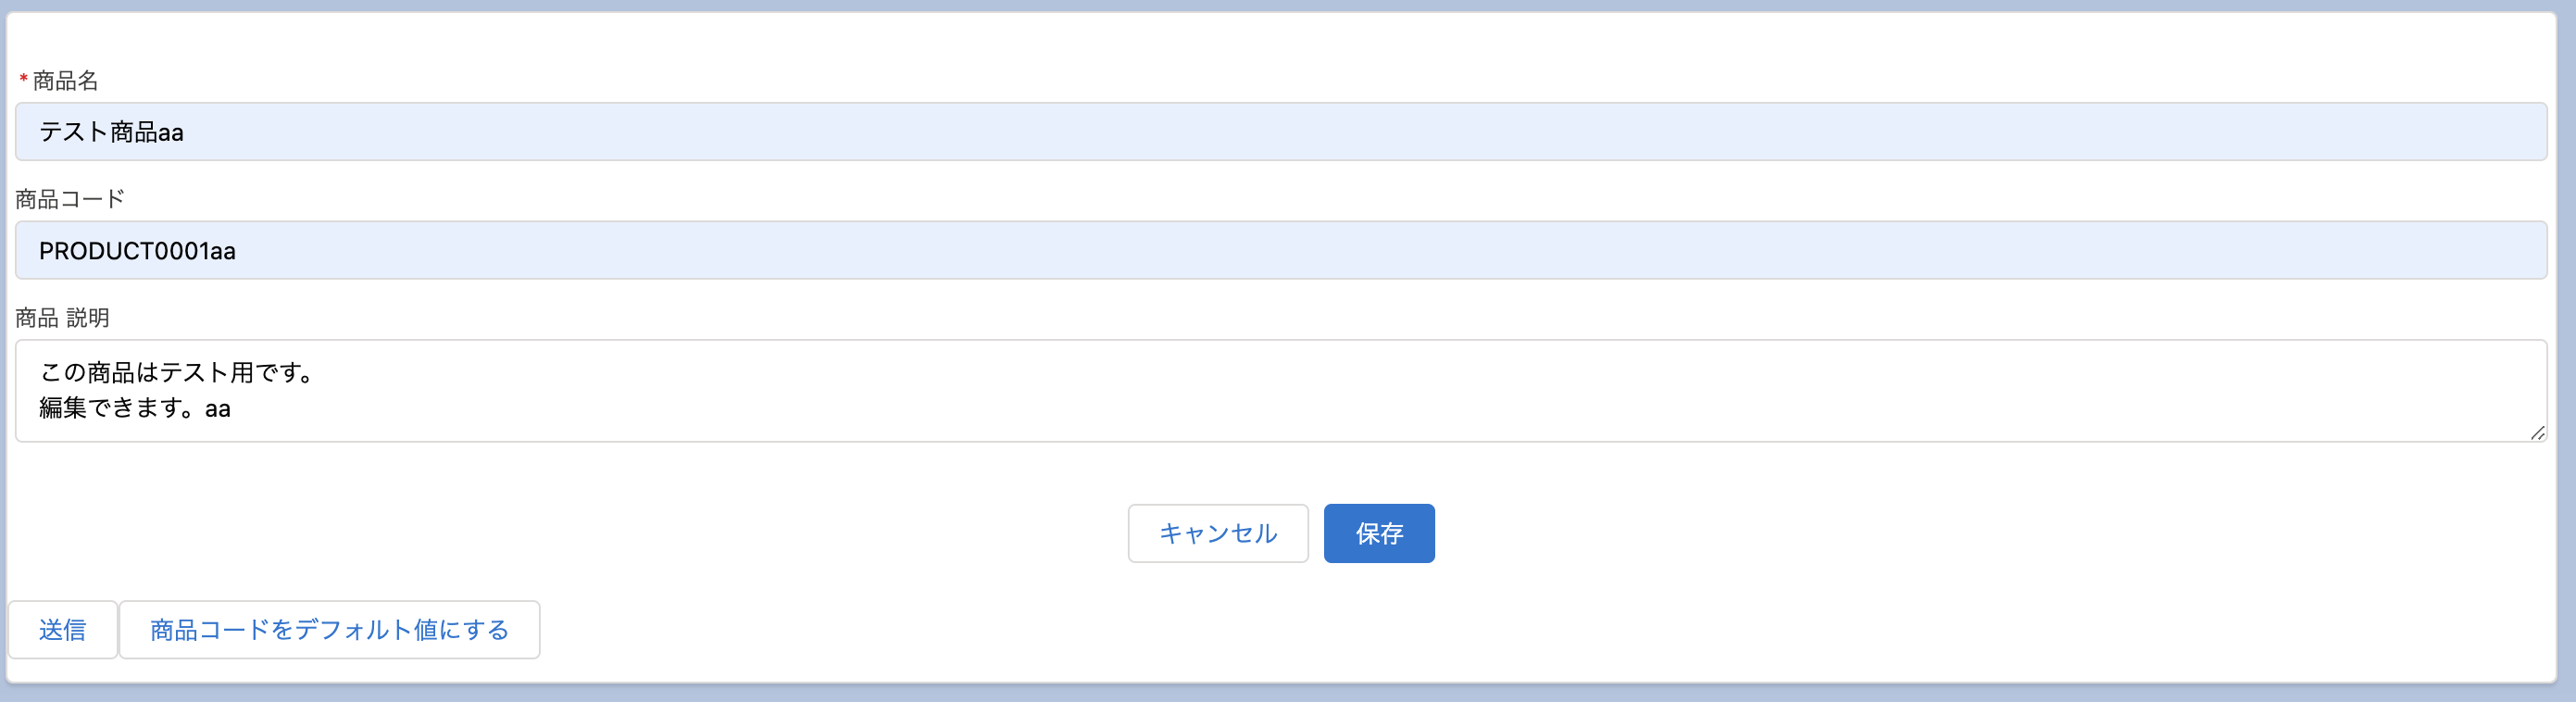 商品情報の修正(未保存)
送信ボタンを押すとすべての項目が保存されます。
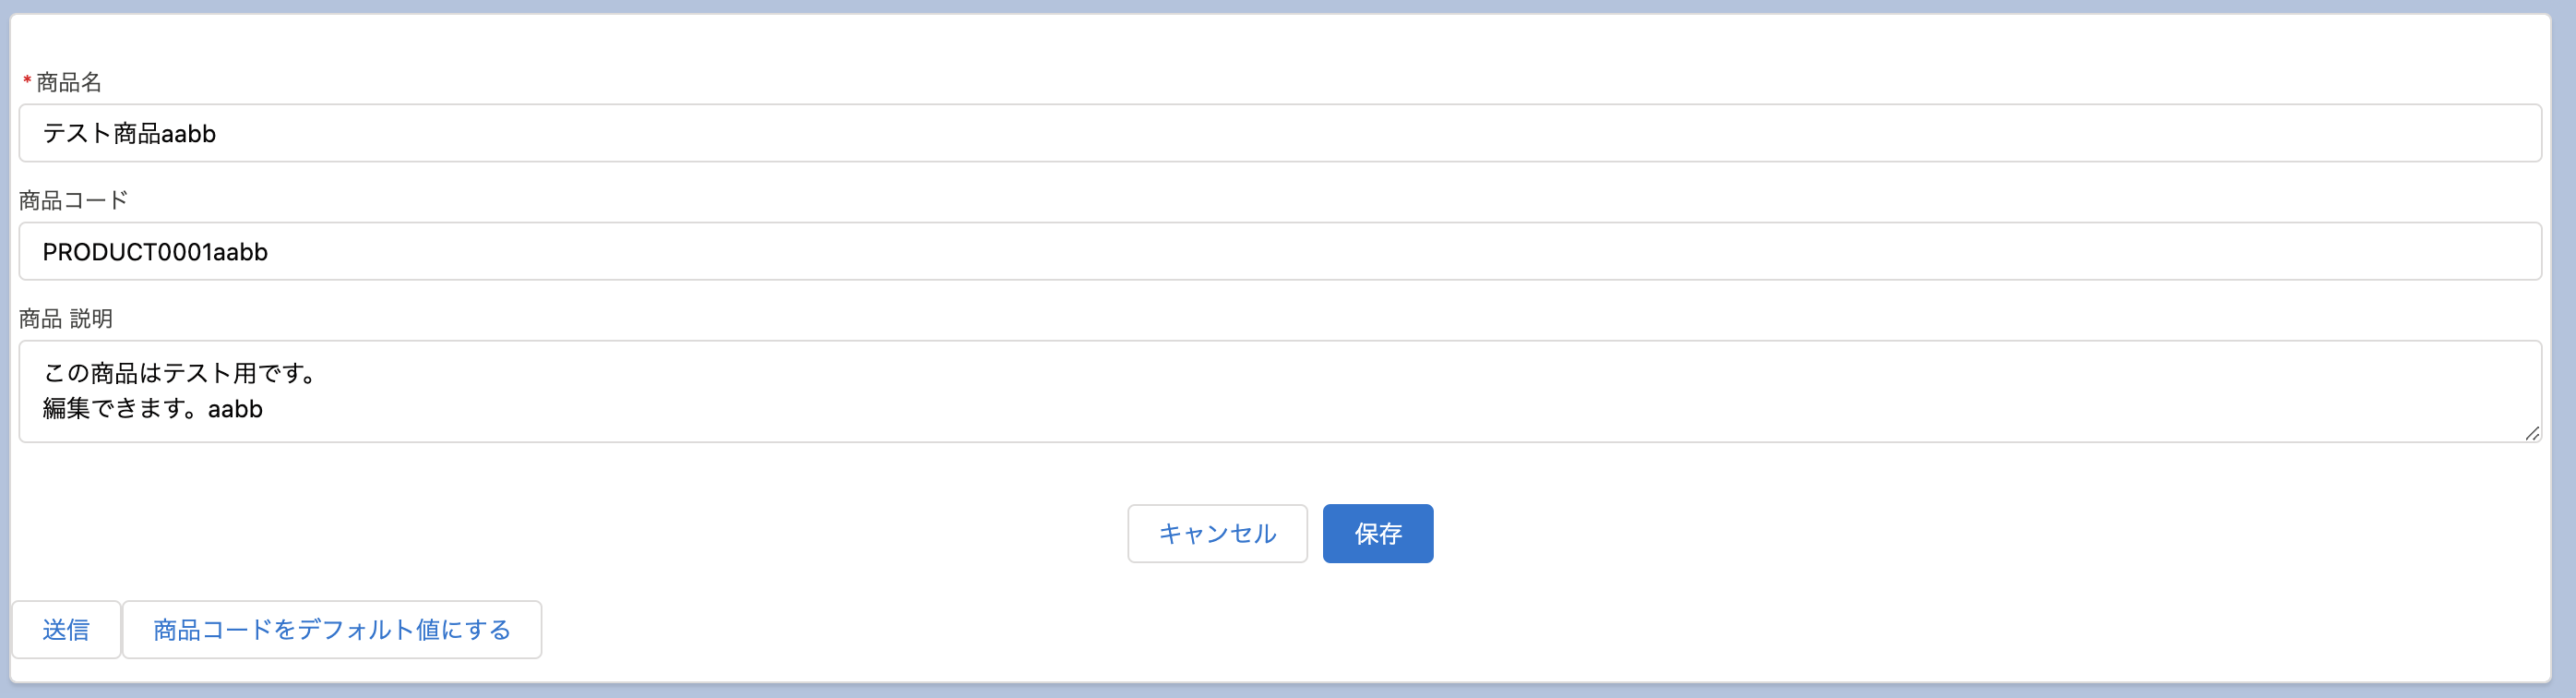
submit に引数を指定しないとフォームの内容で保存します。
 修正した商品情報の保存
次に商品情報の末尾に bb を追加して、
 商品情報の修正(未保存)
「商品コードをデフォルト値にする」ボタンを押すと、今度は商品コードのみが変更されています。
submit の引数に指定した項目のみが保存されています。
 商品コードのみが更新されている様子
参考元
- Component Reference
- https://developer.salesforce.com/docs/component-library/bundle/lightning-record-form/specification
- source code
- https://github.com/salesforce/base-components-recipes/tree/master/force-app/main/default/lwc/recordForm


